During busy service periods, load balancing can simplify the management of incoming orders by helping to avoid overloading at a single station. Orders can be dispersed across multiple stations evenly.
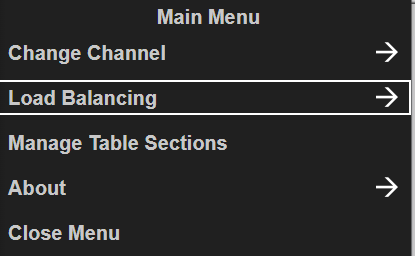
Load balancing is activated on channels configured with this setting, which can be accessed through the screen menu option.
-
A single load balancing rule can be enabled on the site level at one time
-
The active rule must be disabled before enabling a different rule available
-
Changes made in the load balancing menu will apply to all associated channels, if the screen is restarted, enabled rules will be retained
Enabling Load Balancing Rules
Follow these steps to enable a load balancing rule with a bump bar:
| Step | Bump Bar Button | Action |
|---|---|---|
| 1 |

|
Bump Bar: Press the Menu Button |
| 2 |

|
Bump Bar: Use the Item Down button until Load Balancing is selected
|
| 3 |

|
Bump Bar: Press the Bump button |
| 4 |

|
Bump Bar: Press the Item Up / Down button to select the required rule Bump Bar: Press the Bump button to select the required rule |
| 5 |
|
Bump Bar: Press the Item Up / Down button to select Save Bump Bar: Press the Bump button to complete the Save Load balancing will now be enabled and orders distributed on a round robin basis between the stations defined to balance the order load Example where two stations defined: Order 1 | Station A Order 2 | Station B Order 3 | Station C If more than two stations are defined orders will go through each station before returning to the first station |
Follow these steps to enable a load balancing rule with touchscreen:
| Step | Touchscreen Button | Action |
|---|---|---|
| 1 |

|
Touchscreen: Tap the Menu button |
| 2 | Touchscreen: Tap Load Balancing | |
| 3 | Touchscreen: Tap the required rule | |
| 4 | Touchscreen: Tap Save |