Roles are assigned to users and define the activities, functions, and settings they can access or perform. There are two types of roles: Front of House, for users working on point of sale terminals, and Back of House, for users operating within Aztec. Depending on their location and job function, a user may be assigned one or both role types.
Adding Back of House Roles
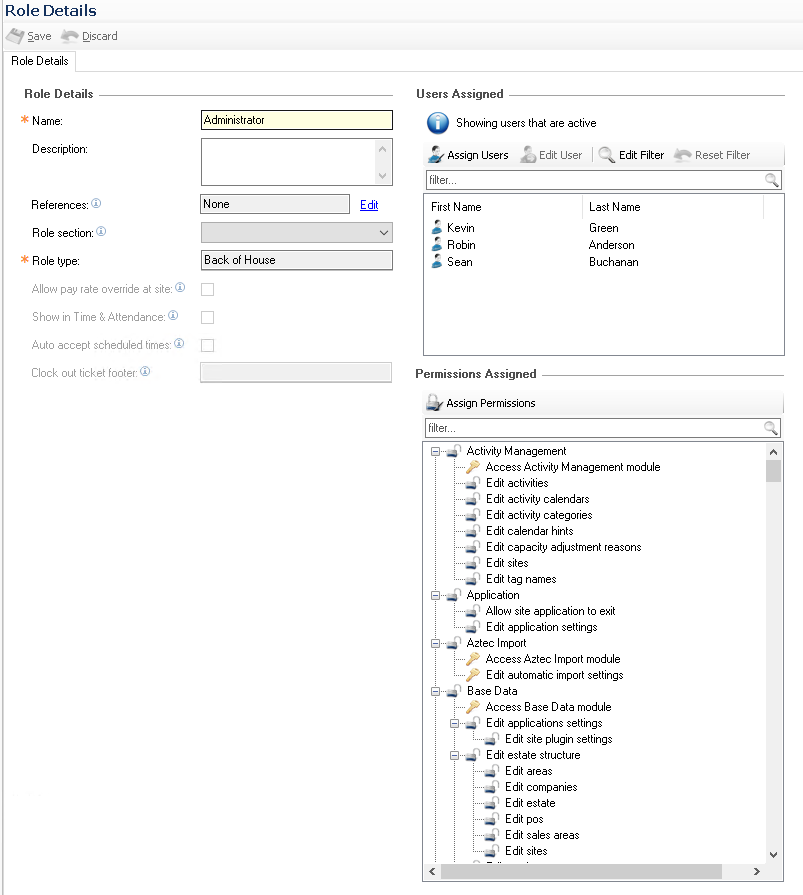
Back of house roles determine all of the modules, functions and features a user either at Head Office, Site or within a Site Master version of Aztec can perform.
Follow these steps to add back of house roles:
-
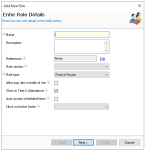
Click Add
-
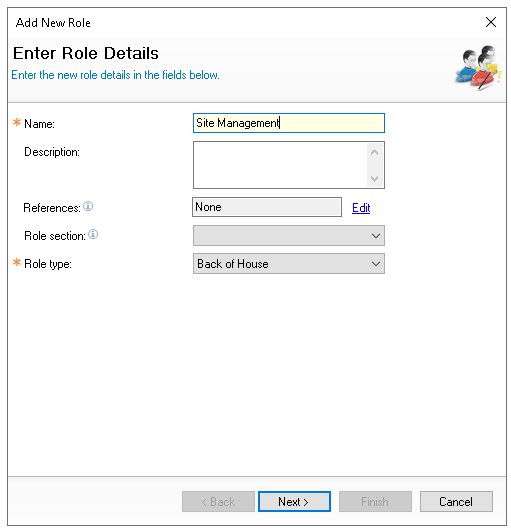
Enter the Role Name and Description (optional)
-
Select Role Type of Back of House
-
If required set a Role Reference | click Edit | click Add and enter Reference Values
This option is only required if employees are imported from a third party system where the role assigned in Staff & Security is mapped to the third party system by the role reference -
If required set a Role Section

-
Click Next
-
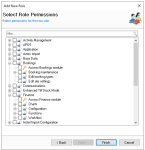
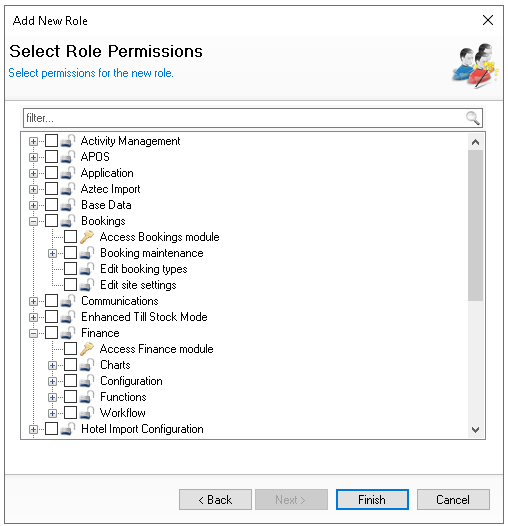
Select the required Role Permissions by setting the necessary check boxes
-
Click Finish
Editing Back of House Roles
Follow these steps to edit back of house roles:
-
Select an existing role from the Roles list
-
Update the following fields as required
-
Name
-
Description
-
References
-
Role Sections
-
-
Click Assign Permissions to make adjustments to existing permissions
-
Click Save
Assigning Users
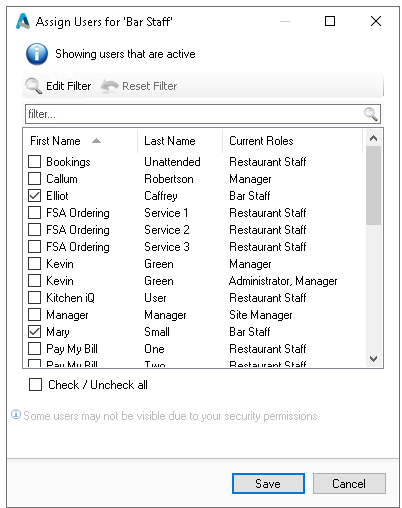
When creating or editing a user, job roles can be assigned to them. For back of house roles, users can also be assigned directly within the role view.
By default all existing users assigned are displayed in the list, when viewing with Aztec Head Office filter sets can be applied to view users for selected locations.
Follow these steps to assign users:
-
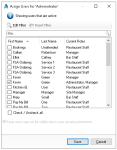
Click Assign Users
-
Search for the required Users by entering a name within the filter
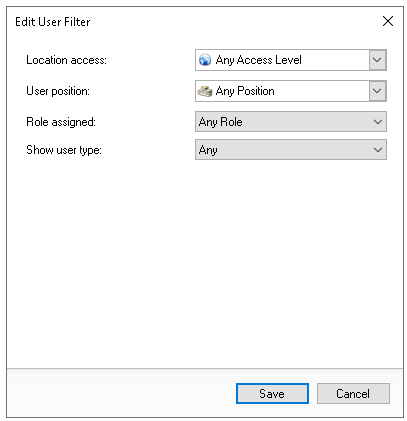
or alternative click Edit Filter and select required filters to apply
-
Location Access
-
User Position
-
Role Assigned
-
Show User Type

Click Save
-
-
Select the required Users by setting the check box
-
Click Save

Adding Front of House Roles
Front of house roles determine selected features that can be performed by a operator of the point of sale along with optional pay rates that can be assigned to the role.
Follow these steps to add front of house roles:
-
Click Add
-
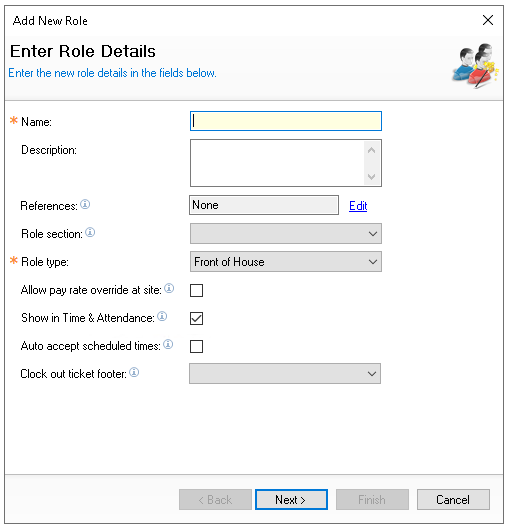
Enter the Role Name and Description (optional)
-
Select Role Type of Front of House
-
If required set a Role Reference | click Edit | click Add and enter Reference Values
This option is only required if employees are imported from a third party system where the role assigned in Staff & Security is mapped to the third party system by the role reference -
If required set a Role Section
-
Enable the following optional settings as required
-
Allow Pay Rate Override at Site - when enabled onsite operators will be able to override configured pay rates
-
Show in Time & Attendance - when enabled the job role will be displayed in Time & Attendance for scheduling purposes
-
Auto Accept Scheduled Times - when enabled any clocked times captured against the job role will be automatically accepted in clock times within Time & Attednance
-
Clock Out Ticket Footer - if using clock out tickets either the default or custom footer can be selected
For more information on custom clock out ticket footers click here
-
-
Select the required Role Permissions by setting the necessary check boxes
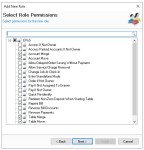 Click here for more information on each of the front of house role permissions
Setting Description Additional Information Access If Not Owner When enabled the operator will be able to access all other accounts of which they are not the owner
Access Parked Accounts If Not Owner When enabled the operator will be able to access parked accounts of which they are not the owner
Account Merge When enabled the operator will be able to merge accounts
Account Move When enabled the operator will be able to move an account on to a table
Allowed Delayed Order Saving without Payment When enabled the operator will be able to complete and save a delayed order without adding a payment
Allow Service Charge Removal When enabled the operator will be able to remove service charge that was automatically / manually applied
Change Job at Clock In When enabled the operator will be able to change their job upon clock in When front of house users are created they can be assigned one or more roles but always given a default role, if they are to clock in as another role they would be required to change job
Enter Standalone Mode When enabled the operator will be able to set the terminal to go into standalone mode which means it will not see any other terminals and be working offline Entering standalone mode is a last resort option and generally should be entered into with the assistance from the Zonal Help Centre Order If Not Owner When enabled the operator will be able to pickup and order an account of which they are not the owner This setting works in conjunction with access if not owner, if this is not enabled they will not be able to order (as they can't pickup the account) Pay If Not Assigned to Drawer When enabled the operator will be able to make payments even if drawer assignment is configured This setting might be typically used for a manager role where they require to be able to make payments on any terminals where as staff / team members might be assigned to a specific drawer for payments Pay If Not Owner When enabled the operator will be able to make payments on an account of which they are not the owner This setting works in conjunction with the access if not owner, if this not enabled they will not be able to pay (as they can't pickup the account) Quick Re-Identify When enabled and the operator either saves an account or makes payments that close the account the point of sale terminal will automatically log back on for the next transaction with the operator that completed the save or pay activity Redeem Non-Zero Deposit when Starting Table When enabled the operator will be prompted when opening a table to redeem deposits which are at zero value Reprint Bill When enabled the operator will be able to reprint a bill after the first bill print Reverse Bill Discounts When enabled the operator will be able to reverse applied discounts from the corrections screen Reverse Payments When enabled the operator will be able to reverse payments from the corrections screen Table Merge When enabled the operator will be able to merge tables Table Move When enabled the operator will be able to move tables from one to another Transfer Ownership To Others When enabled the operator will be able to transfer ownership of accounts from themselves to another operator If this setting is not enabled they will still be able to perform the function but it will prevent them from completing the activity without authorisation from the receiving operator whom they are transferring the accounts to -
Click Next
-
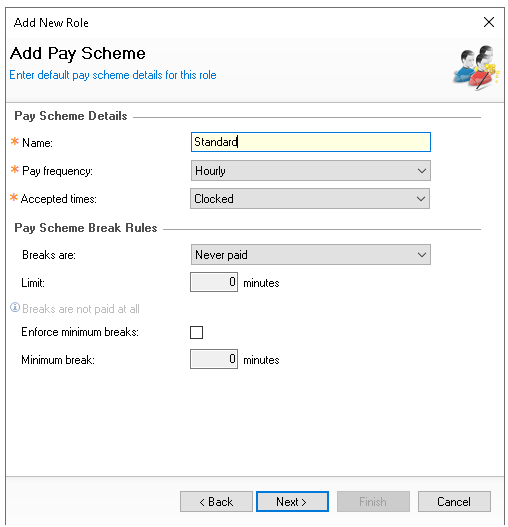
Enter the Pay Scheme Name
If pay rates are not used enter 'Standard' and then click Next Click here for additional information on pay scheme details
Setting Description Additional Information Pay Scheme Details Pay Frequency Set the frequency of pay by choosing an option from the drop down
Accepted Times Set how accepted times should be recorded from this role: clocked or scheduled
Pay Scheme Break Rules Breaks Are Set the break rules by choosing an option from the drop down
Limit Based on the break setting selected set a limit in minutes
Enforce Minimum Breaks If required enable minimum breaks
Minimum Break Based on the minimum breaks being enable set the time in minutes -
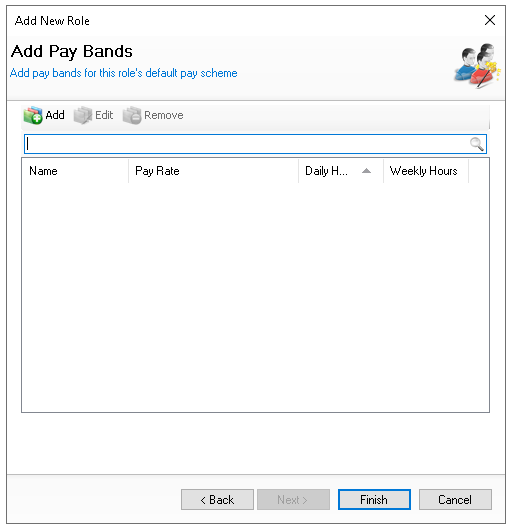
Click Next
If pay rates are not used enter click Finish -
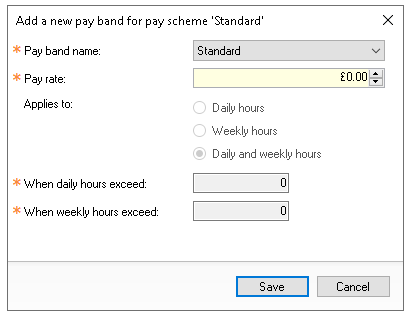
Click Add and enter the Pay Band Information | click Save
Click here for additional information on pay bandsSetting Description Additional Information Standard Pay Bands Pay Rate Enter the amount to be paid based on the pay frequency defined
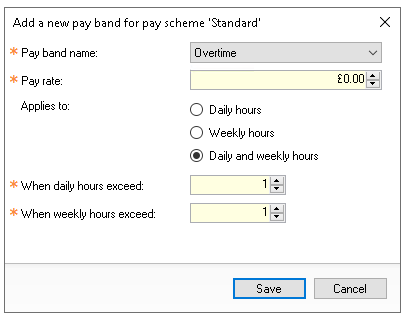
Overtime Pay Bands Pay Rate Enter the amount to be paid for overtime
Applies To Select the required setting when overtime applies
-
Daily Hours
-
Weekly Hours
-
Daily & Weekly Hours
When Daily Hours Exceed Define the number daily hours that when exceeded will result in overtime being paid
When Weekly Hours Exceed Define the number of weekly hours that when exceeded will result in overtime being paid -
-
Click Finish

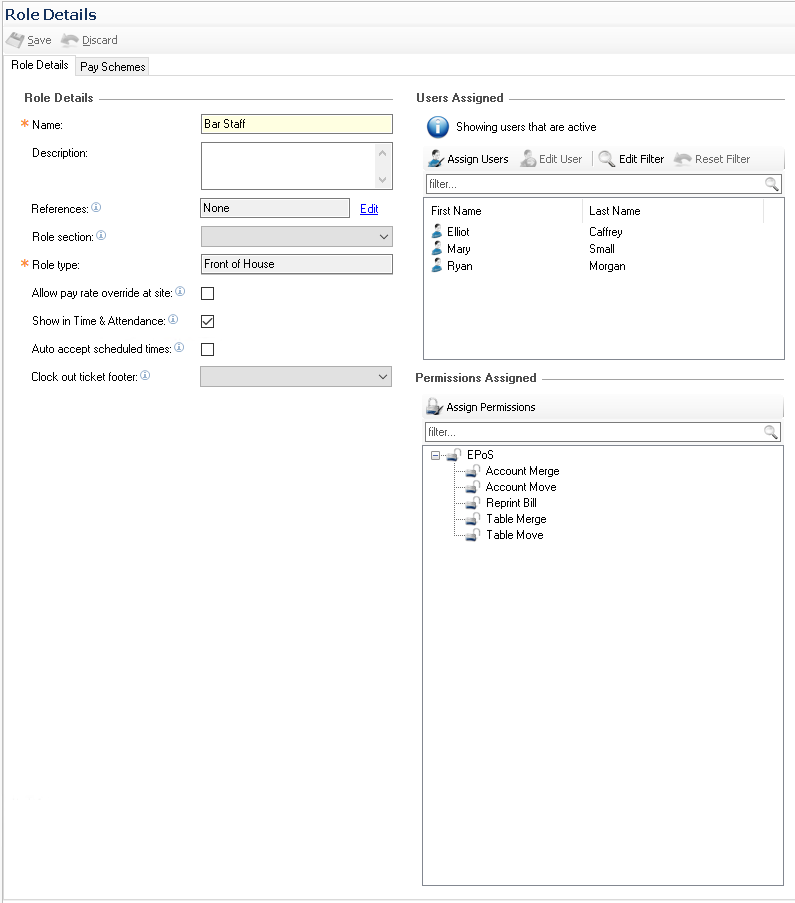
Editing Front of House Roles
Follow these steps to edit front of house roles:
-
Select an existing role from the Roles list
-
Update the following fields as required
-
Name
-
Description
-
References
-
Role Sections
-
Check Boxes for Pay Rates / Times and other settings
-
-
Click Assign Permissions to make adjustments to existing permissions
-
Click Save
Adjusting Pay Schemes & Bands
-
Select the Pay Schemes tab
-
Click Add | or selecting an existing entry click Edit and add / edit the required information
-
Click Save
Assigning Users
When creating or editing a user, job roles can be assigned to them. For front of house roles, users can also be assigned directly within the role view.
By default all existing users assigned are displayed in the list, when viewing with Aztec Head Office filter sets can be applied to view users for selected locations.
Follow these steps to assign users:
-
Click Assign Users
-
Search for the required Users by entering a name within the filter
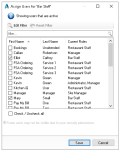
or alternative click Edit Filter and select required filters to apply
-
Location Access
-
User Position
-
Role Assigned
-
Show User Type
Click Save
-
-
Select the required Users by setting the check box
-
Click Save