The event pricing promotion type is a preconfigured set of rules, other promotions, products, and prices that only becomes active when enabled by onsite teams via the point of sale terminal. Once activated, the promotion remains in effect until it is manually turned off.
Examples
-
Increased Special Pricing Pre Sports Game
-
15 minutes of Discounted Prices when a Goal is Scored
-
Negotiated Function Prices
Event Promotion Topics
Adding Event Pricing Promotions
Follow these steps to add an event pricing promotion:
-
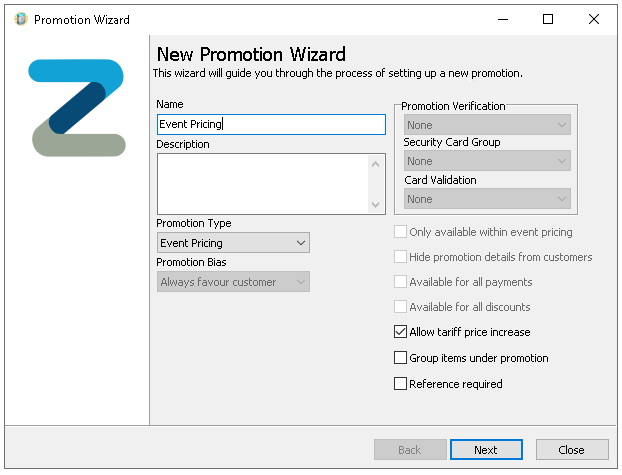
Click New
-
Enter Promotion Name and Description (optional but recommended)
-
Set the Promotion Type to be Event Pricing
-
Optionally set the following other settings
-
Allow Tariff Price Increase - when enabled this promotion can generate a price higher than the normal selling price of a product
-
Group Items Under Promotion - when a bill or receipt is printed items related to this promotion will be grouped under the promotion name so it is clear which products were part of the promotion
-
-
Click Next
-
Select the required Sites and Sales Areas from the Estate Structure which will be enabled to run the event pricing promotion
Expand the estate hierarchy to make selections and use the arrow buttons to add the selected locations or apply search and tag filters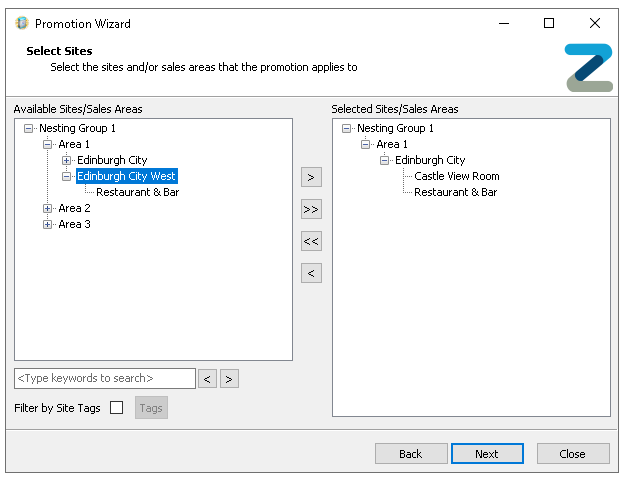
-
Click Next
-
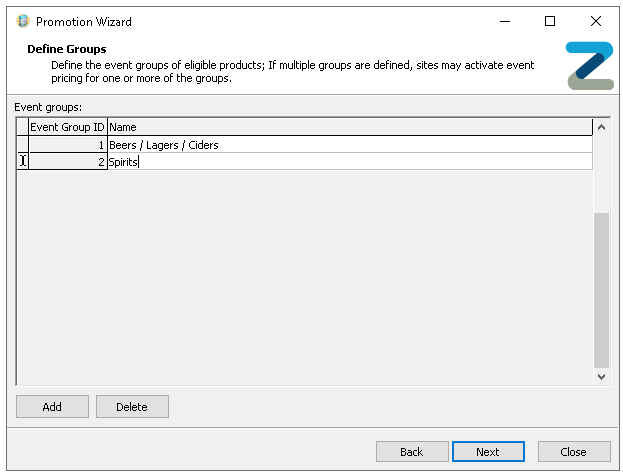
Define number of Event Groups that will be applicable for the promotion
When enabling the event pricing promotion on the point of sale terminal the operator can enable all or selected groups allowing flexibility of which pricing should be changed-
Click Add until the required number of groups are added
-
Enter the Group Name for each group
-
-
Click Next
-
Select the required Products and Portions from the Product Structure which will apply to each event group
Expand the product hierarchy to make selections and use the arrow buttons to add the selected product levels, individual products and portions, or apply search and tag filters to make finding products easier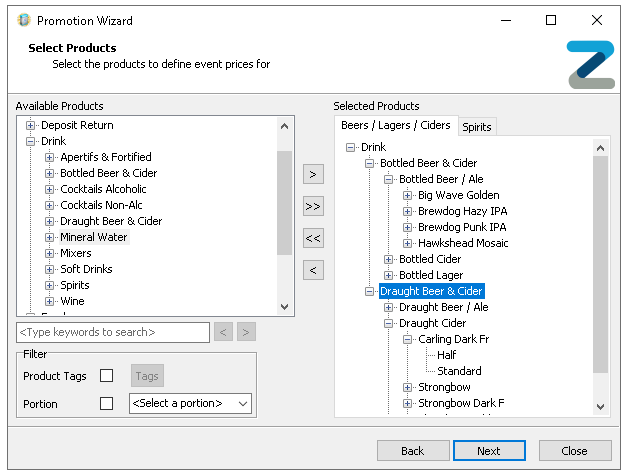

-
Click Next
-
Optionally select which other promotions remain active during the event by selecting the Active check box
By default, promotions are not active during an event. Only those marked as ‘Only Available within Event Pricing’ will be triggered, unless additional promotions are specifically selected during setup. Use search filters to quickly locate and manage specific promotion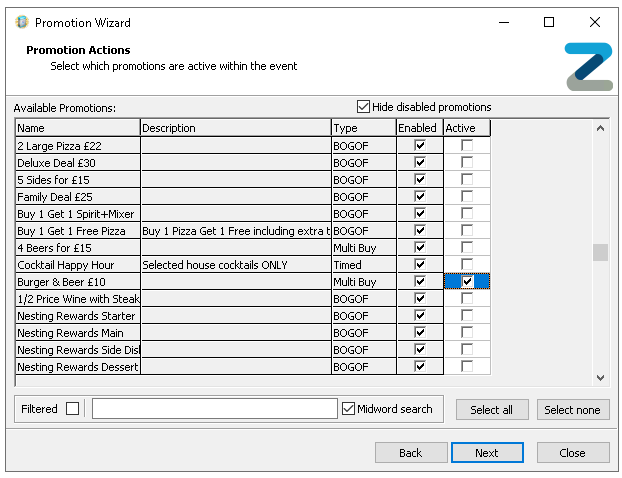
-
Click Next
-
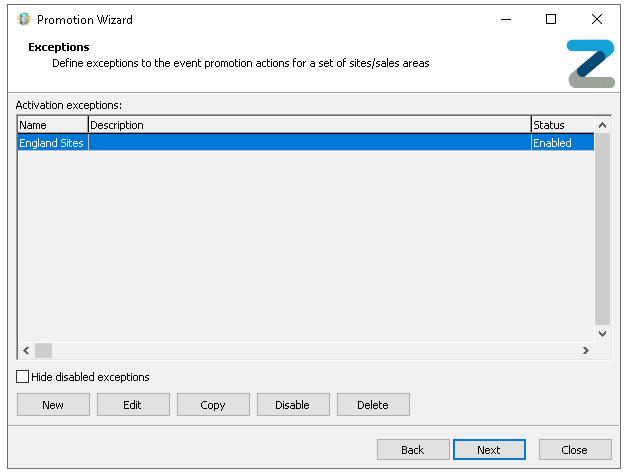
Optionally if promotion exceptions are required they can be added, or click Next to pricing method
Exceptions allow one or more sites and sales areas to have different active other promotions which enables the setup of one event for multiple locations with different settings applied-
Click New
-
Enter Exception Name and Description (optional)
-
Click Next
-
Select the required Sites and Sales Areas from the Estate Structure which will apply to the exception
Only those sites and sales areas already added to the promotion will be displayed for selection -
Click Next
-
Adjust which other promotions remain active during the event by selecting the Active check box (that are different to the main promotion settings)
-
Click Next | click Finish
-
Exceptions have the following other options
-
Copy
-
Select an Existing Exception | click Copy and update details
-
-
Edit
-
Select an Existing Exception | click Edit to update or change details
-
-
Disable / Enable
-
Select an Existing Exception | click Disable or Enable
When an exception is disabled it will revert to the normal activated promotion list settings
-
-
Delete
-
Select an Existing Exception | click Delete
-
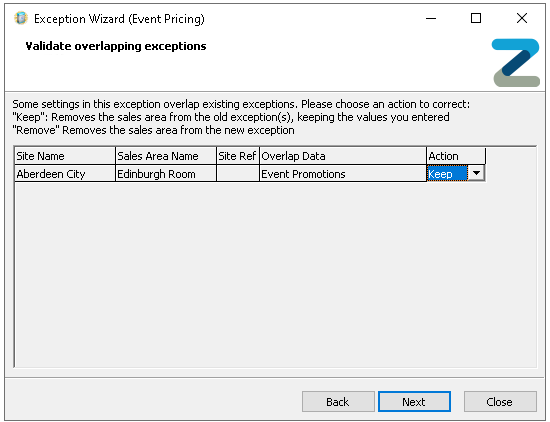
Depending on the settings configured and the sites selected a validation warning can be displayed where an exception overlap can occur, you will be prompted to resolve this by either keeping or removing the settings added
-
-
-
Select the required Pricing Method for each Event Group
-
Price Entry - when selected prices are defined manually in the promotion
-
Banded Price - when selected and a price band chosen prices will be automatically based on the band selected
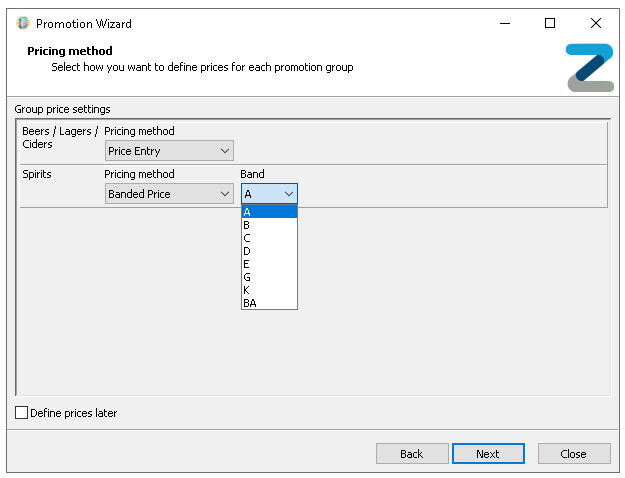 If prices are not yet available to be configured selecting 'Define Prices Later' will allow the promotion setup to be completed, the status of the promotion in the promotion list will be shown as Unpriced
-
-
Click Next
-
Complete the following
-
Review prices for Banded Prices
or
-
Edit prices for Price Entry selection by either initially selecting the Group that was configured to Price Entry pricing method from the drop down and either
-
Clicking into a price cell and enter a price
Selecting a site and sales area from the drop down will enable the product list to be filtered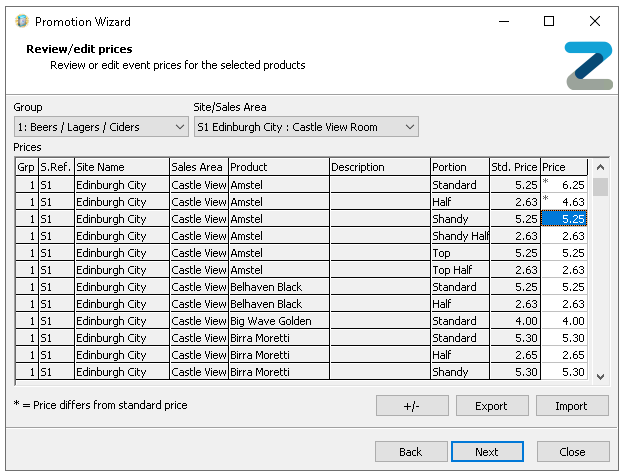 When setting prices manually, you can also enter negative values to apply a discount-style adjustment to an account when the items are ordered
 -
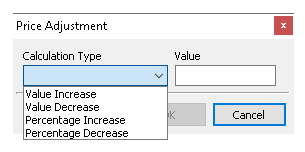
Control+click multiple price cells | click the +/- button and use the price adjustment options enabling a change in bulk
-
Click Export | Open Microsoft Excel or equivalent spread sheet and Paste the price information
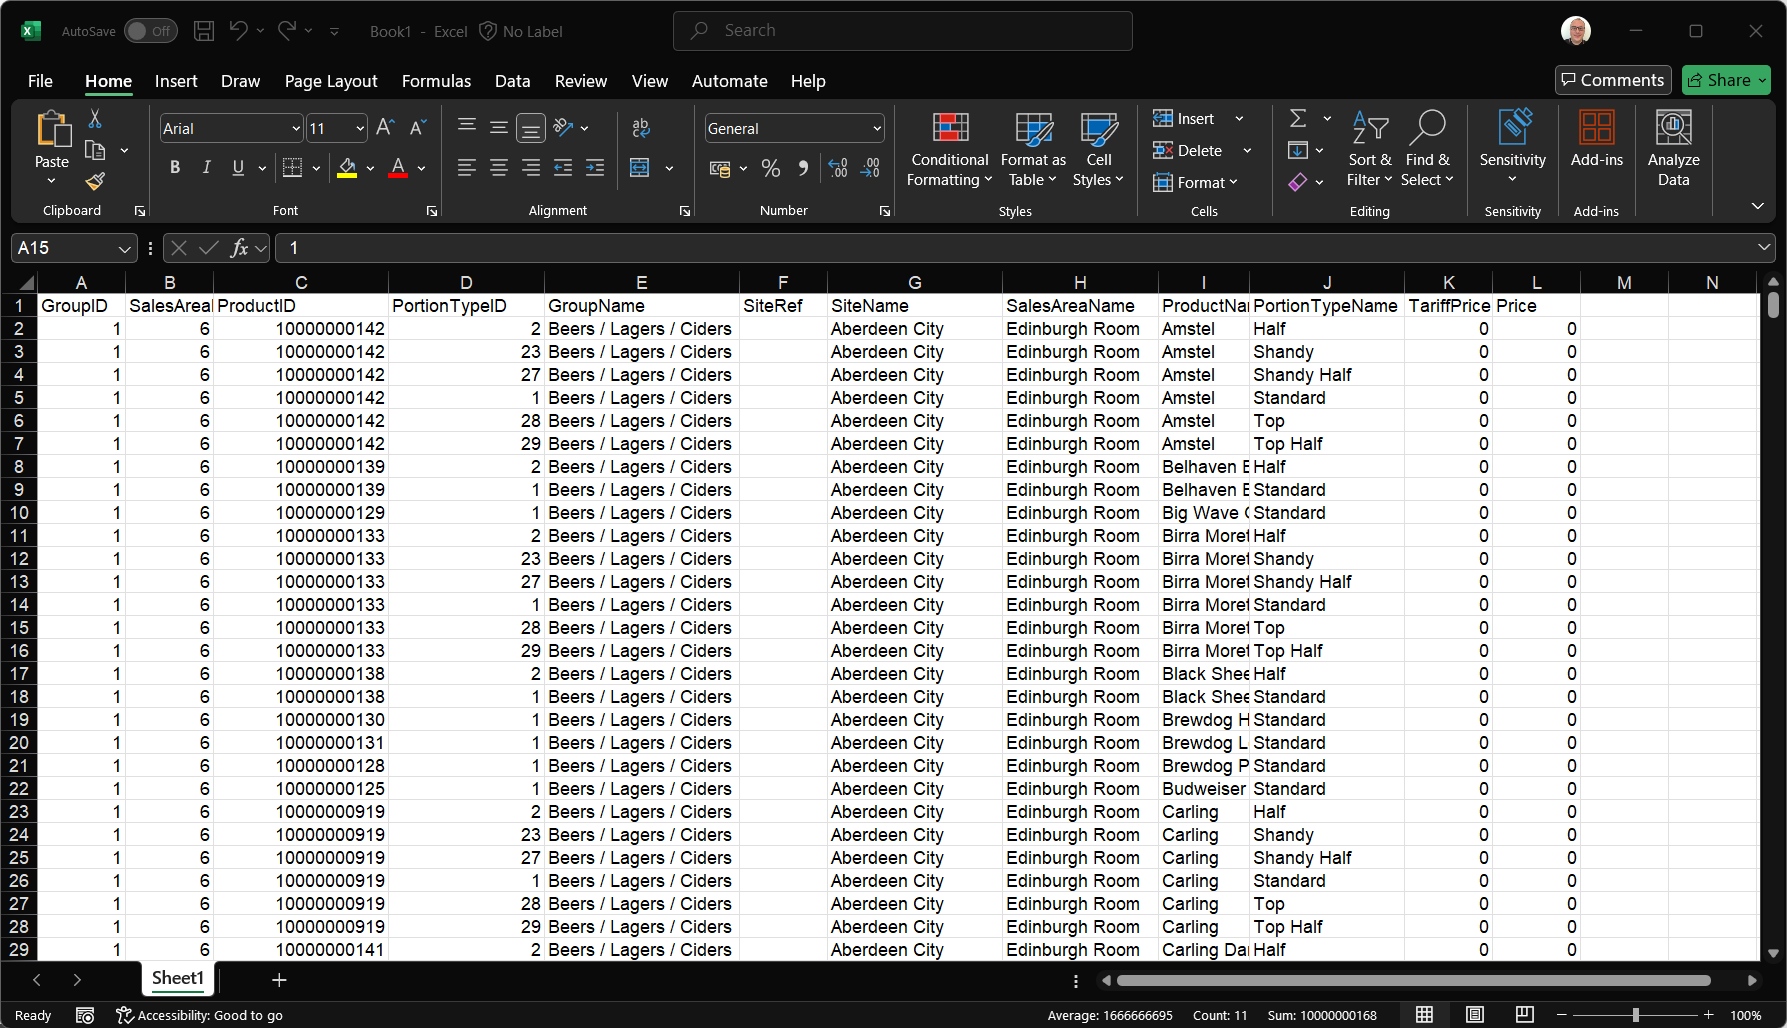 The exported data will include all groups, sites, sales areas and products added to the promotion
 -
Update the prices in the price column (L)as required
Care should be taken not to change any data in the columns A-K as this information is needed when re-importing back to promotions, any changes could cause the import to fail -
Copy all rows and columns of the promotion price data
-
Click Import - the prices changes made will be imported
-
-
-
Click Next | click Finish