
Adding Back of House Users
To add back of house users:
-
Click the Add New User option from the quick links at the bottom of the Staff & Security front page. Alternatively click the Users option from the menu and then click the green Add button.

- For either option, the Add New User window will be displayed.
- Here, enter First & Last Name (both mandatory fields), select the required User Position and from the role type box select Back of House.
- Click the Next button to continue.
- Select the required Job Role for the user, e.g., assistant manager or stock auditor. The job role selected will define what modules this user can view and their access levels within the Aztec Shell.
- The Back of House Login screen will be displayed automatically, populating the username with the first name entered previously, but can be amended if needed.
- Enter the required Password and confirm.
- Enter the required Front of House details.
- The Dallas key or 4-digit PIN code are assigned in this screen. Either put the Dallas key into the reader and click the blue Read link, and/or type in the PIN code.
- Click the Finish button to complete the setup.
- From the front page of Staff & Security use the quick link option for Send to PoS.
- Click the button and click OK to confirm the send to PoS.
User positions are given to back of house users to enable different levels of viewing access within the staff and
security module.
Users with the highest position available would be able to see any other users at the same level
and below.
Users with a position at the bottom of the tree would only be able to see themselves and any other users at
the same level.
When adding a user who can work both front and back of house, select the role type of Both and this will allow the configuration of both types.
If needed a dummy password (for example '123456') could be entered at this point, and then the Change Password at Next Log on box could be ticked so that the user can set their own password.
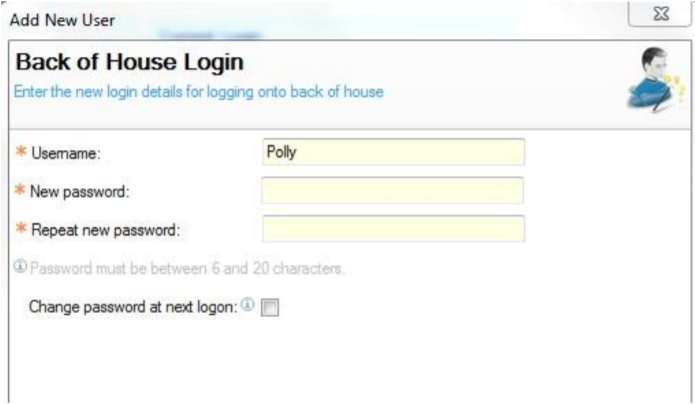
The user name will automatically be populated from the first name entered previously, though this can be changed to whatever name is required.

When any new users have been created the PoS must be updated with this new information.
As part of the setup of the user, there may be other required fields that need to be completed in line with your organisation’s requirements.
Against the main User Details tab are several options that can be selected:
- Front of House Roles
- The role(s) assigned to a user at the point of setup will be displayed. If these should be changed, click the Assign Roles button and edit as required.
- Pay Scheme
- If pay schemes have been configured, the default pay scheme for the job role assigned will automatically be allocated. If an alternative is required use the drop-down box to change the pay rate.
- Personal Details
- Information included in this tab may be required, for example address and contact information.
- Payroll Details
- Information included in this tab may be required, for example employee number, work permit and type of employment.
- Bank Details
- Information included in this tab may be required, for example bank account and sort code.
- Additional Tabs
- Custom tabs for information may have been created by your organisation which can include date options, drop down menus, tick boxes and free format text boxes.
Some of the above options may have been configured as mandatory fields and would need to be entered prior to completing the setup of the new user.
-
When change(s) have been made, press the Save button.