
Sales Ledgers Full User Manual
Sales ledger accounts, invoices, statements, and payment matching are all processed in the back of house software. Accounts are charged and settled to from the PoS as described at the end of this guide.
Creating New Accounts
- From the sales ledger front page click the Add New Account option from the quick links at the bottom of the screen. Alternatively click the Accounts menu option and then click the green Add button.
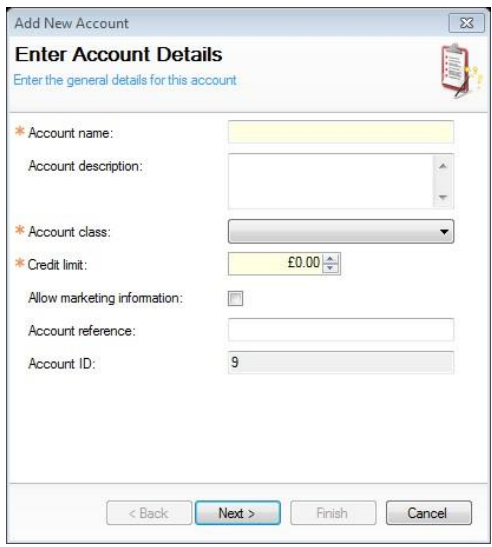
- The Enter Account Details screen is displayed and should be filled out with the required information.
- Click the Next button to continue.
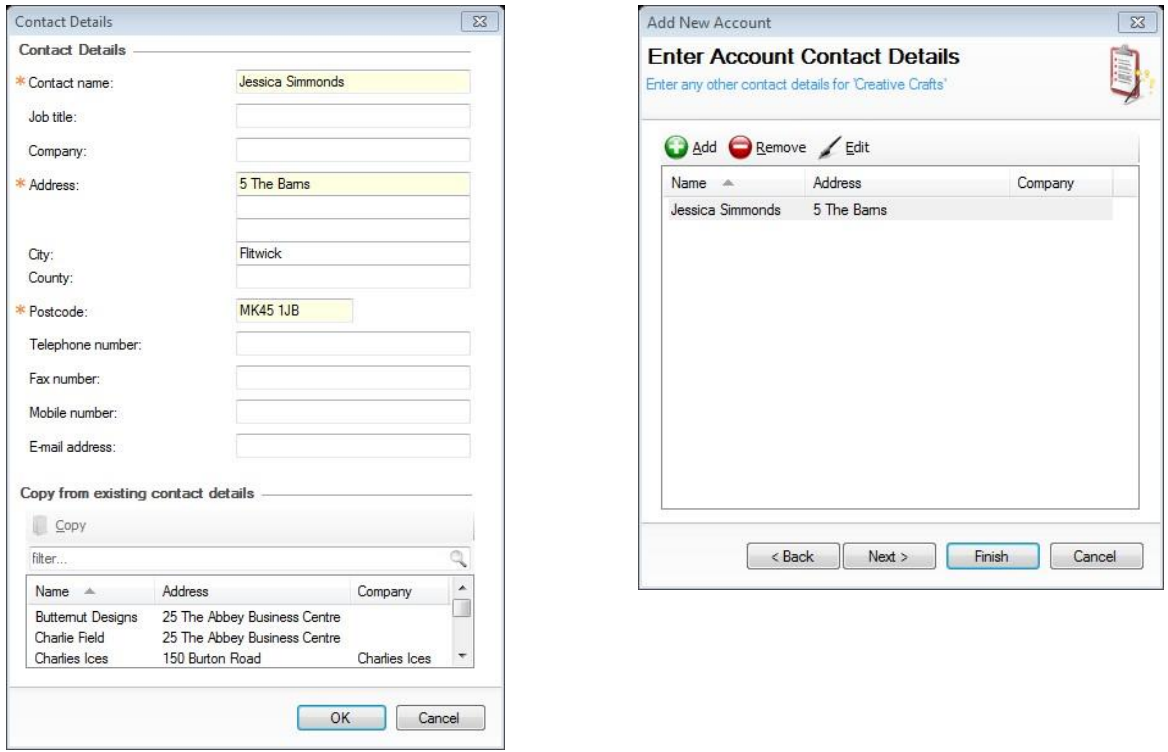
- The Enter Bill Account Details screen is displayed and should be filled out with the required information. If no further details are required click the Finish button complete, alternatively click the Next button to add more.
-
If additional details are required, click the green Add button and enter the required fields. Or, from an existing contact, press the Copy button which will automatically populate the contact details screen,
-
Click the OK button, and then the Finish button
Items marked with the orange * symbol are mandatory fields
Using Accounts
Each account can be viewed and information against this account updated including issuing of invoices and statements.
- From the sales ledger front page select the Accounts menu option
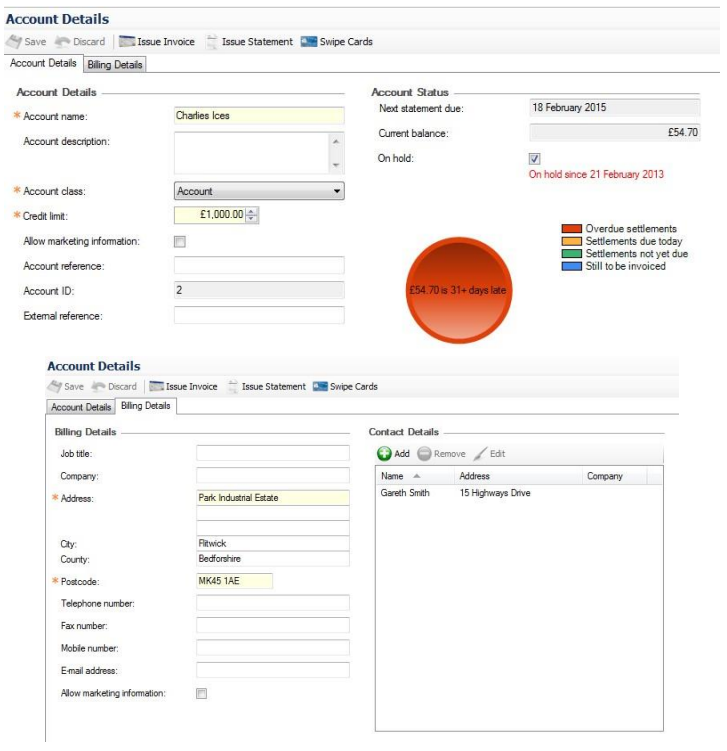
- All current accounts will be displayed in the accounts list on the left, and the details of each account displayed to the right.
- The following changes can be made to the account details.
Account Name – the main account name that can be amended.
Account Description – free format text box to assist in the description of the account.
Account Class – the account class provides key information about how the account is controlled, settlement terms, maximum allowed credit limit and statement period, in addition if the account is manually or automatically matched when payments are made.
Credit Limit – the credit limit allowed on the account.
Account Reference – any reference the account should have.
Account Status – displays only information about the account – the on-hold option will become ticked if charges are overdue.
Enter / Amend Billing Details – billing details can be changed.
Enter / Amend Contact Detail – contact details can be changed.
Issue / Re-Issue Invoices or Statements – invoices or statements can be printed or re-printed as required.
Issue Statements
When statements are due, they will automatically be displayed on the Things To Do area and should be printed out and filed.
To update the sales ledger module to advise the statements have been printed:
- From the sales ledger front page click Issue Account Statements from the quick link menu options at the bottom of the screen, or alternatively click the Statements Overdue option from the Things To Do list.
-
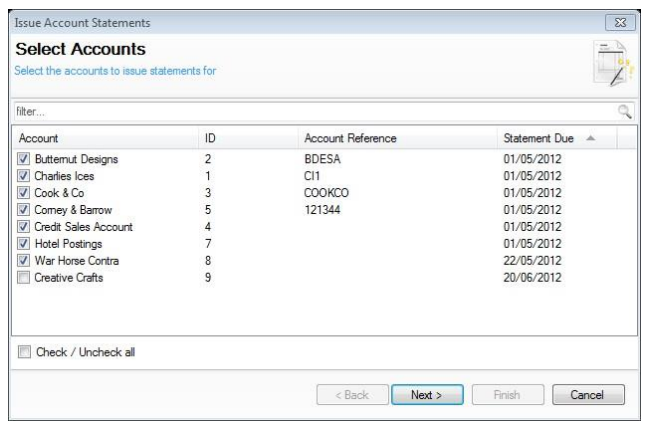
The Select Accounts screen will be displayed and automatically tick the accounts that require statements to be printed
-
Click the Next button to continue.
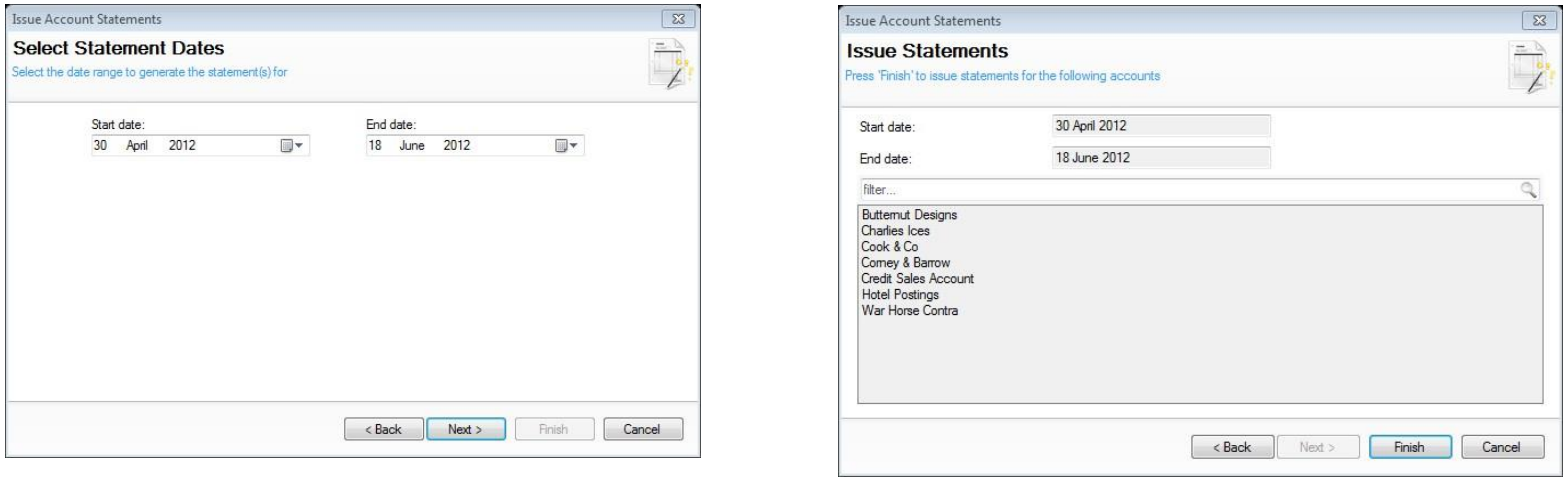
- The Select Statement Dates screen will be displayed and automatically have the correct statement dates set. The can, however, be changed using the calendar drop downs.
- Click the Next button and then the Finish button to issue the statements.

Match Settlements
Sales ledger settlements are performed through the PoS, and can either be automatically matched to an account or require a manual match process to be performed; the configuration for this is set against the account class allocated to the account during setup or administration.
- From the sales ledger front page click Match Settlements menu option which will display the Match Settlements screen with all payments available to be matched.
- The default view for this screen is to include unmatched and partially matched settlements. However, by ticking the fully matched settlements option in the left-hand menu, you can show all that have previously been matched.
- Select the required settlement from the left-hand windowpane to bring up the account information on the main screen.
- From the unmatched charges highlight each required line and either click the Match button or drag the line into the Matched Charges for Selected Settlement window.
- Charges can also be written off - for example, if they are never going to be paid, they can be dragged into the Written Off Charges window. Alternatively, you can highlight and click the Write Off / Part Charge buttons.
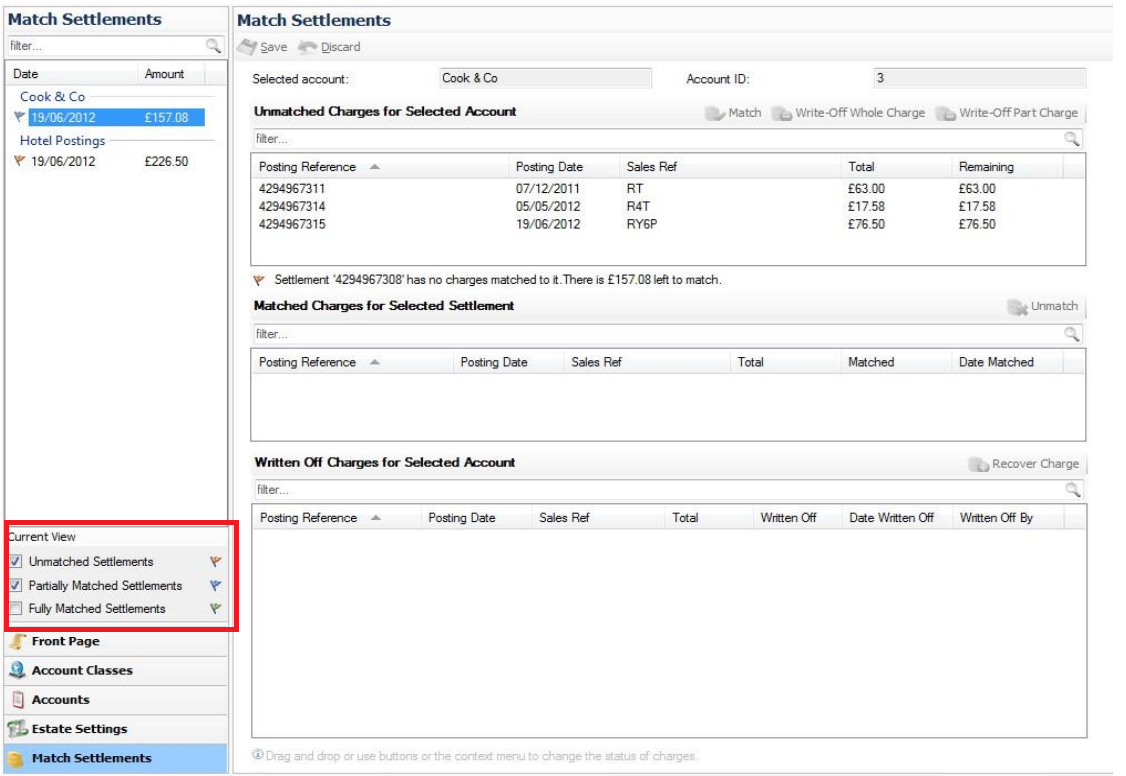
Charges that have been written off can be recovered by click the Recover Charge button.
