How To - Promotional Footers
To create a Promotional Footer:
-
Navigate to Theme Modelling, followed by Promotional Footers
-
Create a new Promotional Footer
-
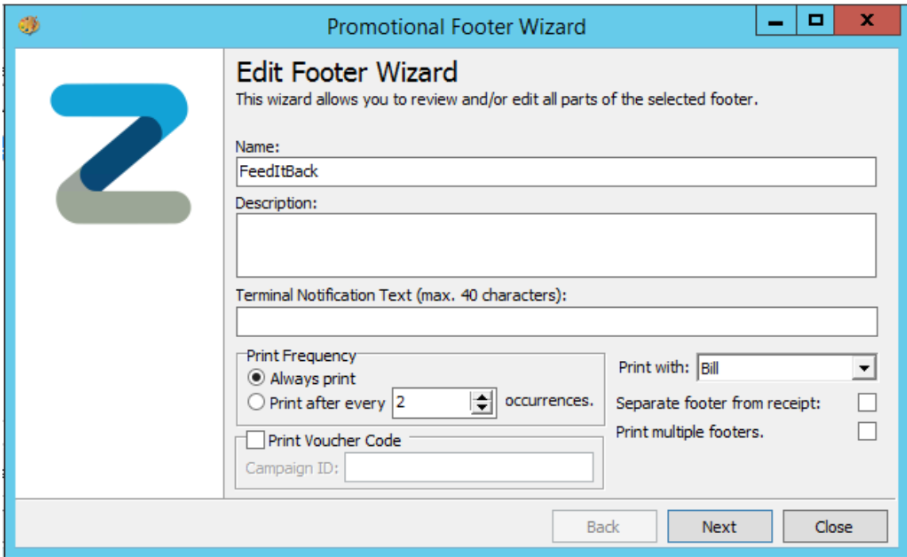
Next fill in the below:
- How it should print ("Always Print" or "Every X Occurrences")
- Whether it should print with bill or receipt
- Click Next
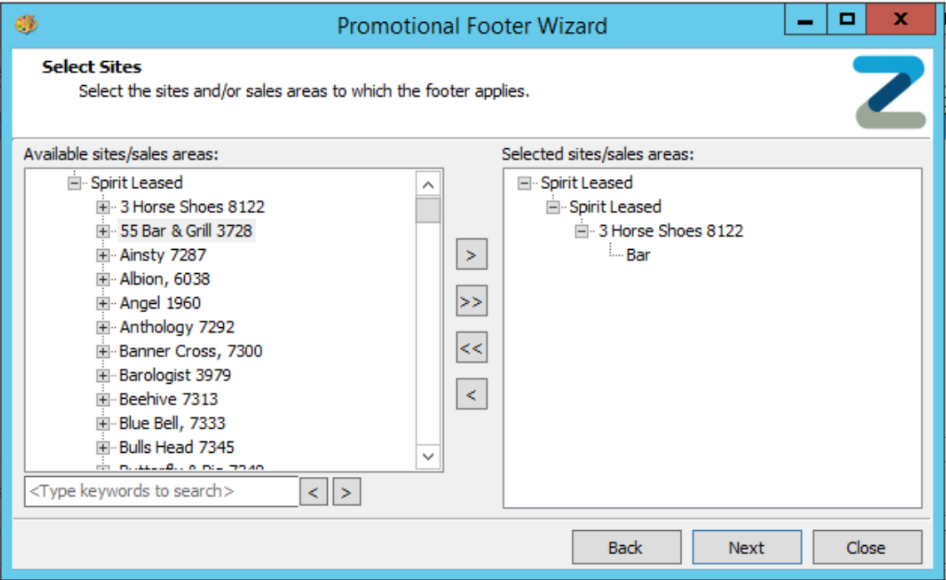
- Select the sites to be included in the promotional footer, and click Next
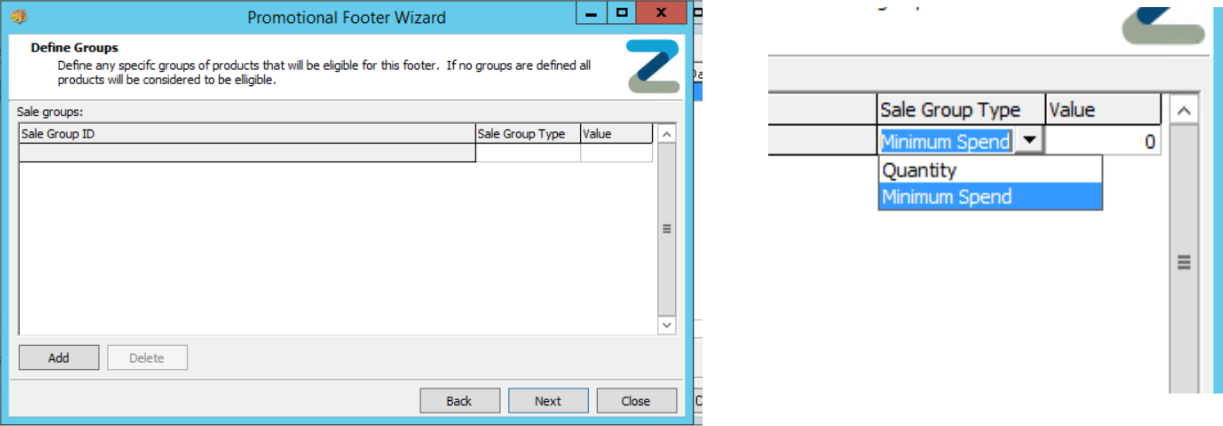
- You can leave Define Groups blank if a site wants the promotional footer to print on every occurrence
- If customer would like conditions (e.g only print when a specific product or sub cat is sold)
- Click Add and select Sales Group Type
- As Minimum Spend put 0.01 in the value box
- If a condition has been set up, the value cannot be left as 0 or the footer will not trigger)
- Click Next
-
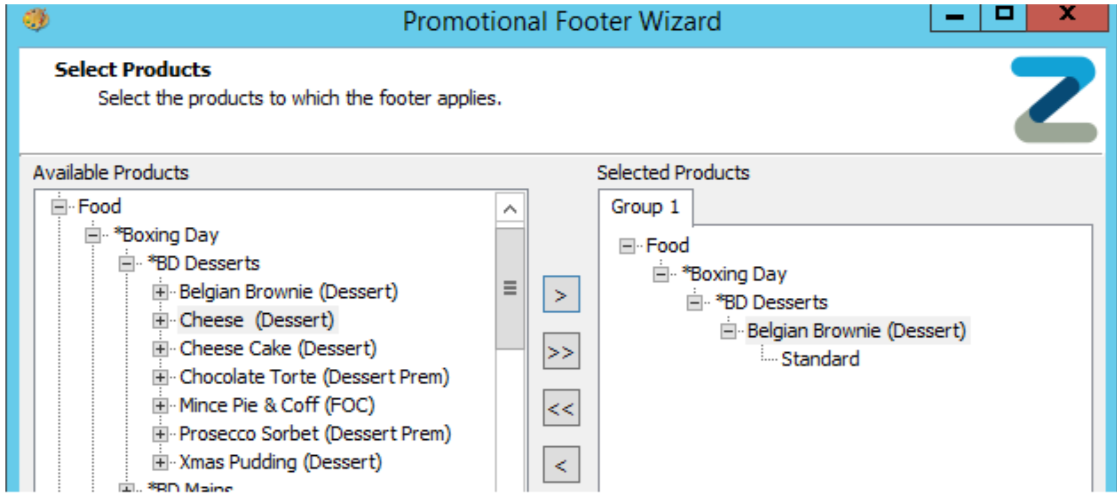
Select products or subcategories that should trigger the footer.
- If no group is added then you will not see the Select Products box, and instead you will go straight to the Promotions box
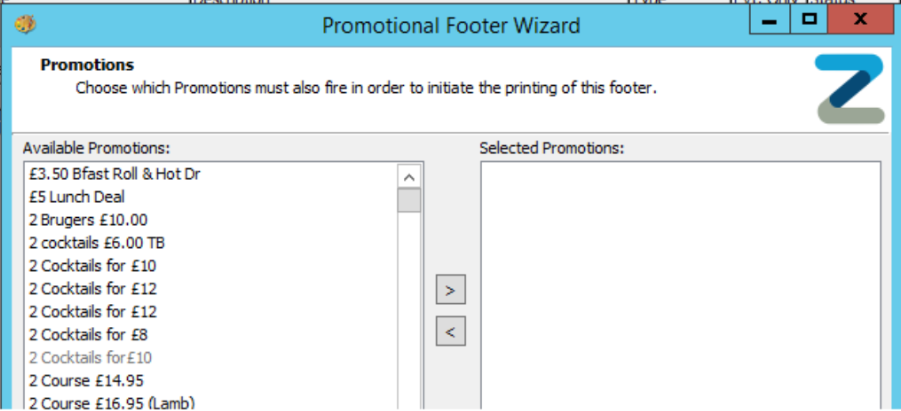
- Select the promotions that should trigger the footer (leave blank if footer isn’t triggered by a promotion)
- Click Next
- Set the start/end date for the promotional footer and days/times it is to be active
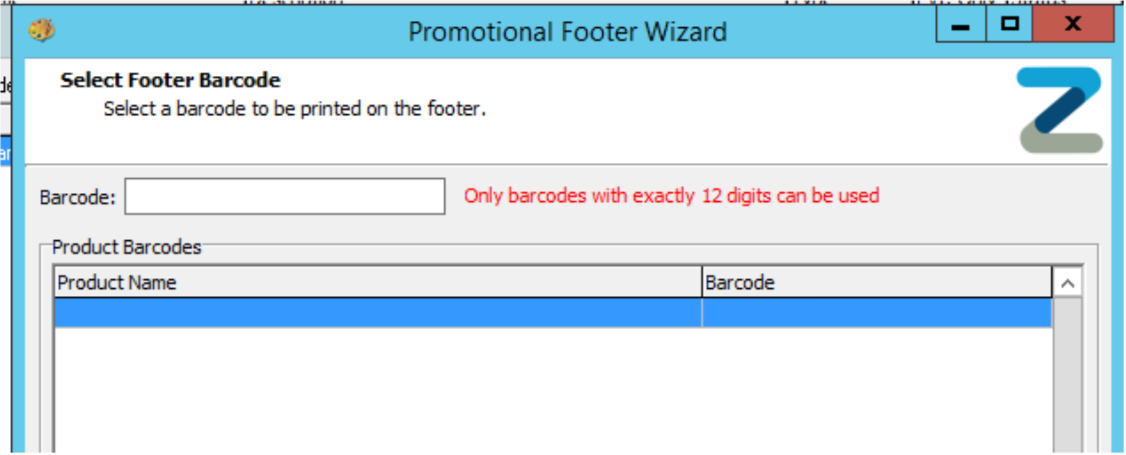
- If a Barcode is to be printed on the Promotions Footer then enter it in the next section. Alternatively, leave blank if no barcode is required
- Select Next, and add in the appropriate text that will appear on the receipt
- Select Next to save the Promotional Footer.
If you have not yet been given these details, leave the start date as the date of set up and all times/days selected. Then, disable at the end of the process