Creating and Sending a Transfer
-
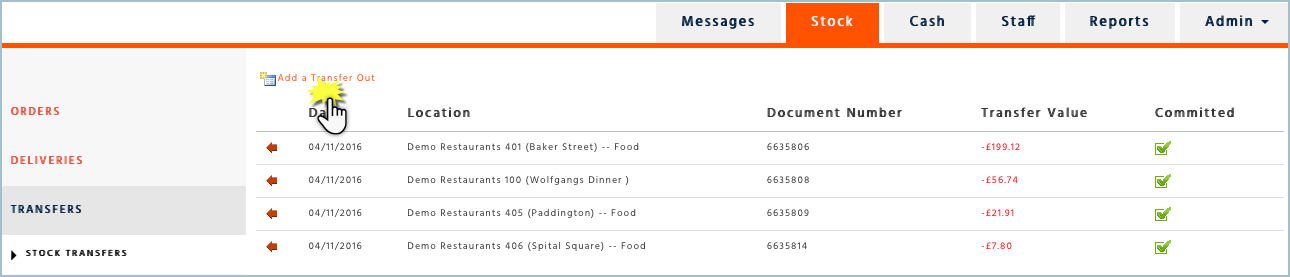
Under ‘Stock’ Select ‘Transfers’ on the left-hand side menu.
-
Select ‘Add a Transfer Out’
-
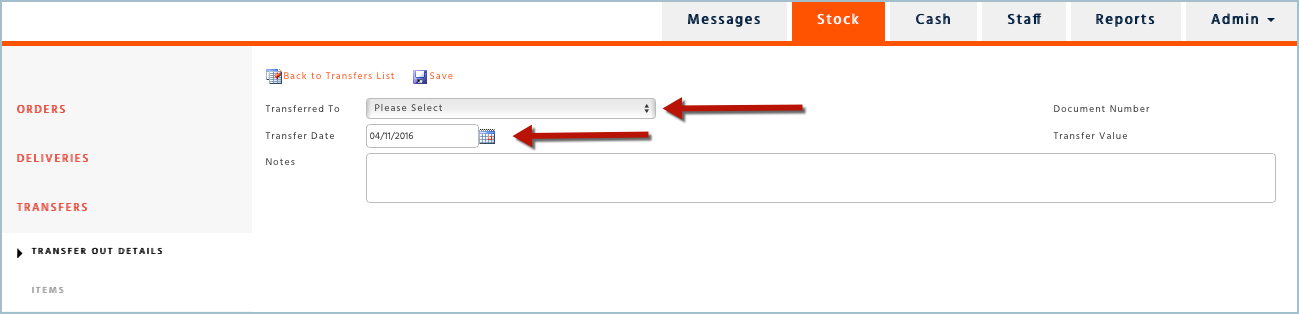
Select the Branch or cost centre (food or Drink) that you would like to transfer to. Note: If they do not appear in this list. You will need to ensure that they are selected in your settings page
-
Select the date of the transfer Note: The date needs to fall within your current stock period
-
Enter any notes you wish to tell the receiving branch and then click on ‘Save’.
Decide what type of transfer you would like to make:
You can add each type to one transfer:
Supplier Item
Batch Item
Recipe
Transferring a Supplier Item
-
Select ‘Supplier Items’
-
Then choose your ‘Supplier’
-
If you would like to filter the items to view a shorter list, select ‘Category’
-
Add the quantity amount you would like to transfer and select ‘Add selected’ or ‘add 1’
If an item is not shown, select show unused. If the item is still not appearing on the list, you need to ensure the item is available for you to count.
![]()
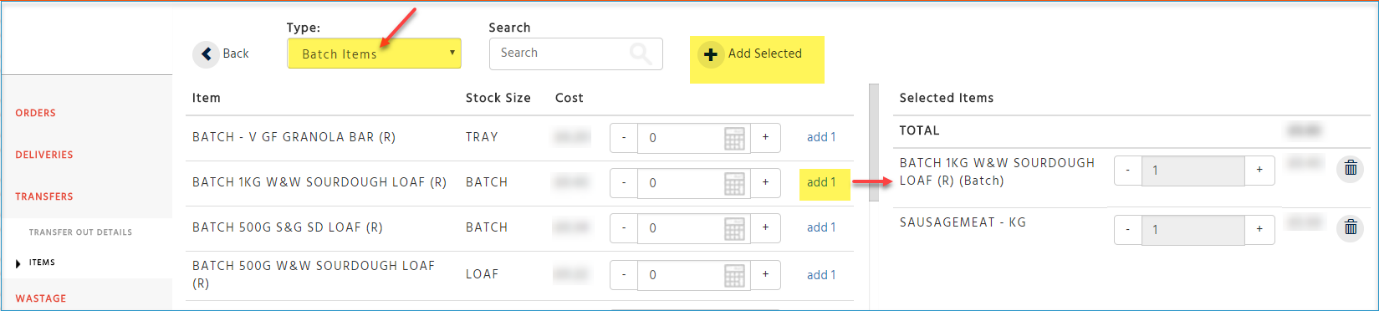
Transferring a Batch Item
-
Select Batch from the first drop-down list
-
Select the quantity of the batch you would like to transfer, either by using ‘add 1’ or ‘Add Selected’
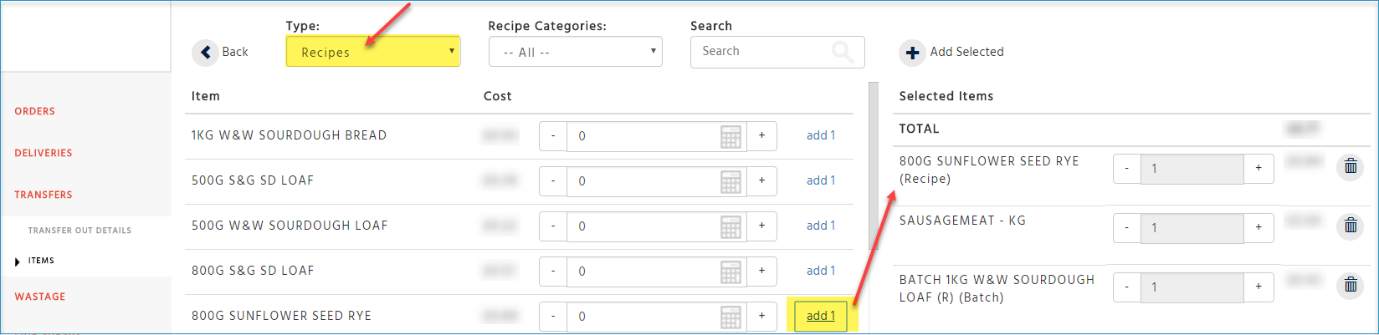
Transferring a Recipe
-
Select the Recipe Type from the first drop down list
-
Select the Recipe category
-
Add items from the list to the transfer
-
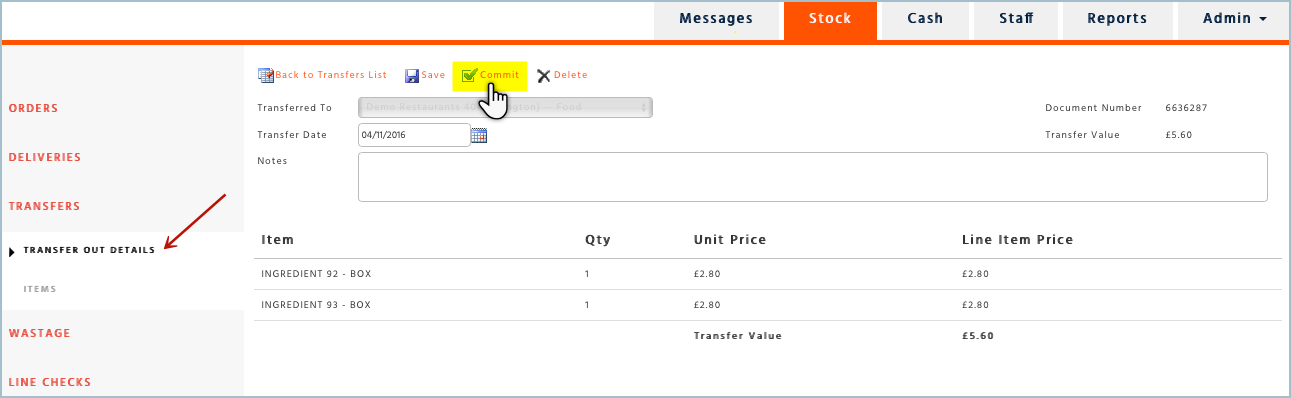
Once you have added all items you would like to transfer, select ‘Transfer Out Details’ in the menu to commit the transfer.
-
Check the transfer details
-
Select ‘Commit’
If the receiving branch is in a stock period that differs to yours, you will be notified that the transfer will go into their current open stock period
![]()
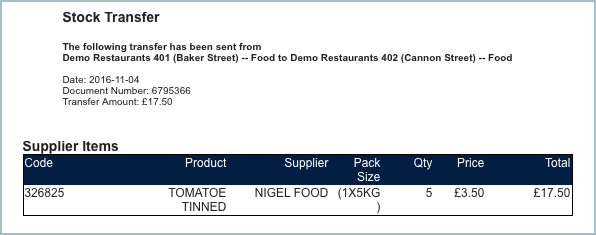
The receiving branch will then receive an email notifying them of the items that they have received from you.
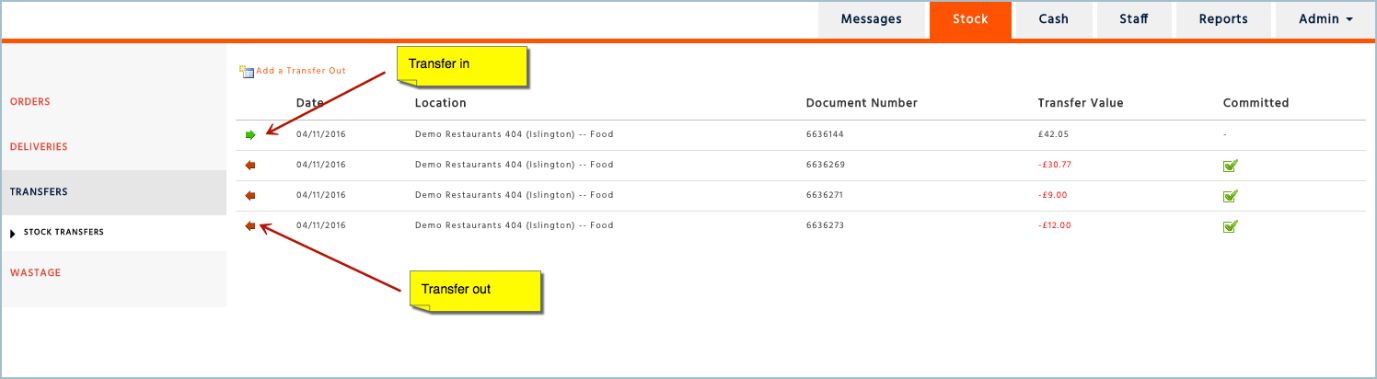
How to Return a Transfer
-
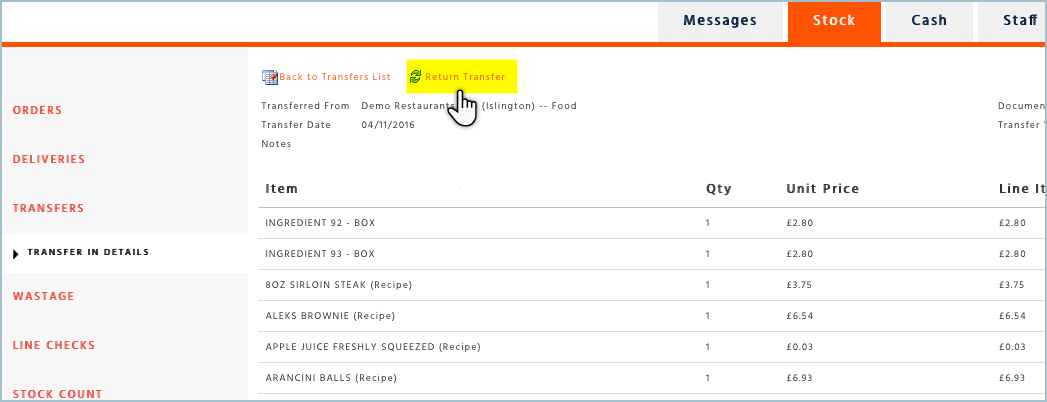
Select the transfer that you would like to return to the sending branch
-
Select ‘Return Transfer’
-
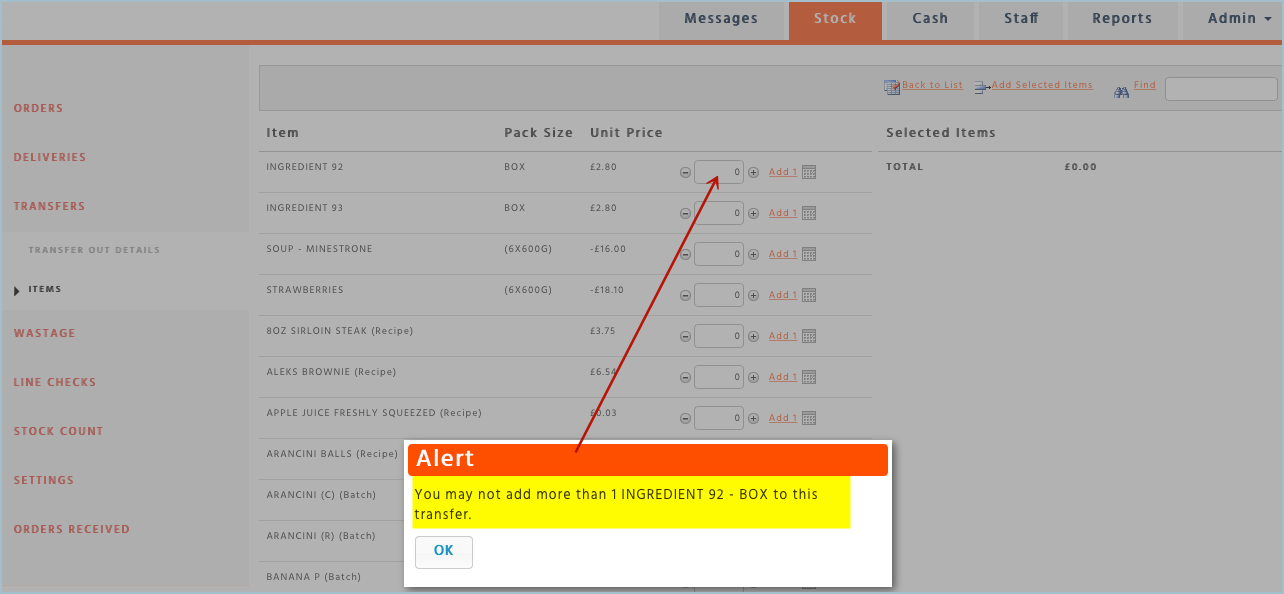
Select the items that you would like to return to the branch
You will not be able to transfer more of an item than is on the transfer
-
Once your returned transfer is complete, select ‘Transfer Out details’ and commit the transfer.
The branch that is receiving the transfer will receive an email notifying them of the returned transfer.