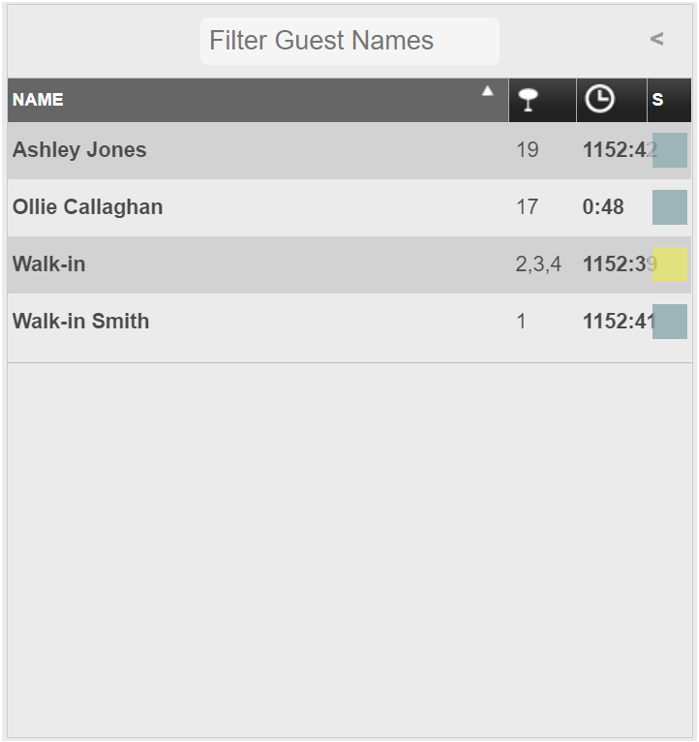
The Table Planning Tab is the first screen you see when you login to Tables. This screen will automatically default to the ‘Guest Summary’ view. This screen will show you what stage seated bookings are at and what bookings are still expected to arrive.
You can select a different view by selecting the relevant tab.
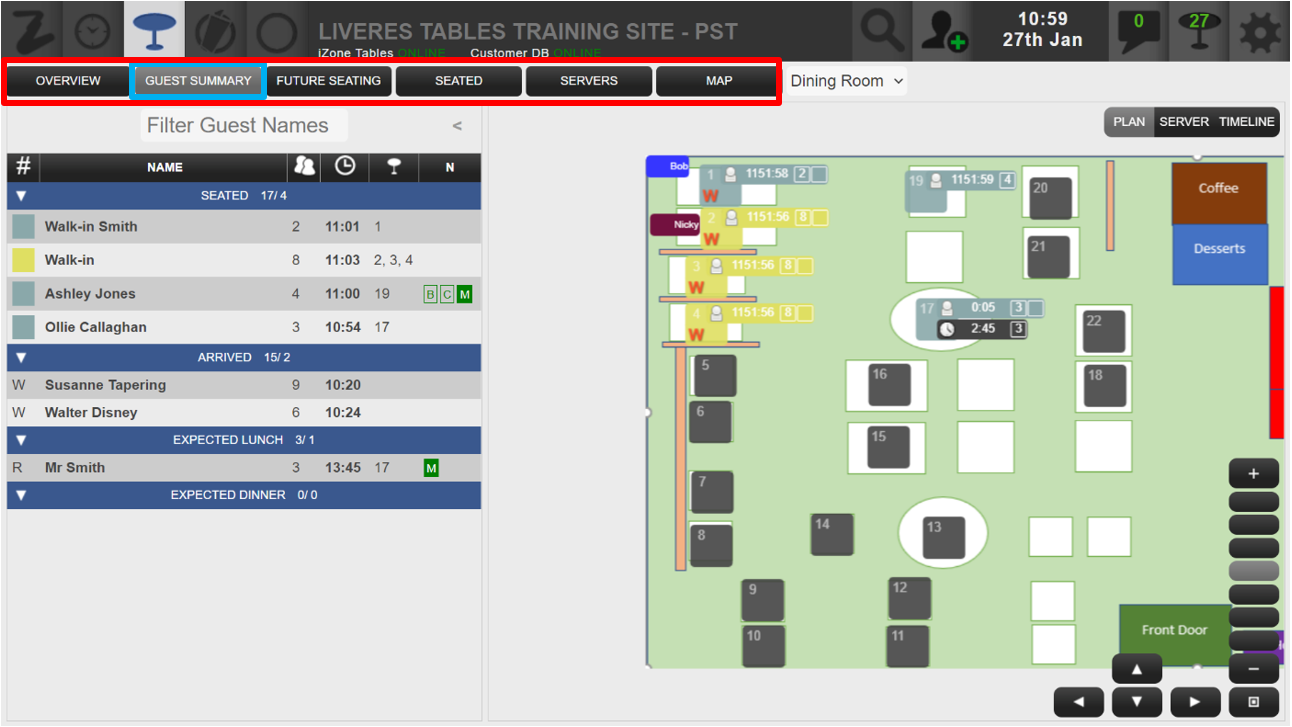
This is the ‘Overview’ tab view. This gives you an overview of the guest queue, seated guests, servers and tables.

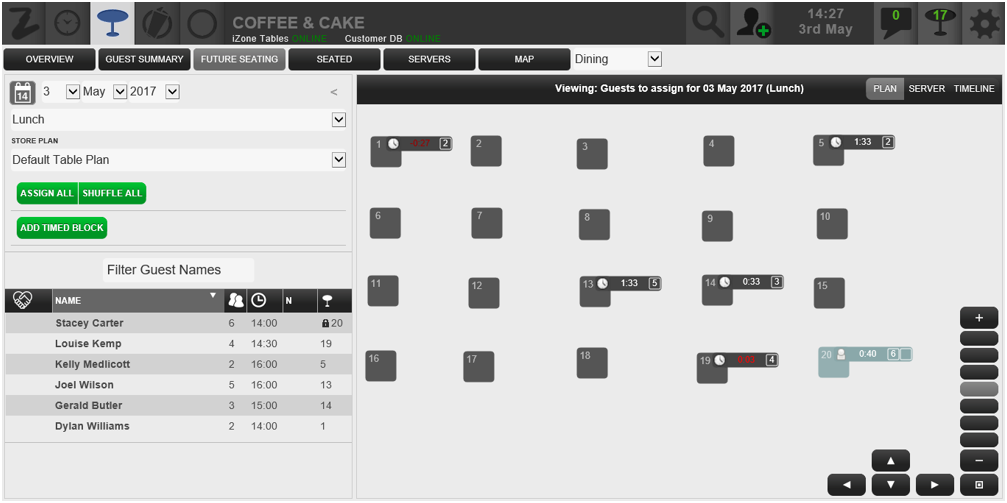
This is the ‘Future Seating’ tab. From this tab you can select a date range and assign bookings to tables ahead of time.
1. Select Future seating
2. Select the Date and Session
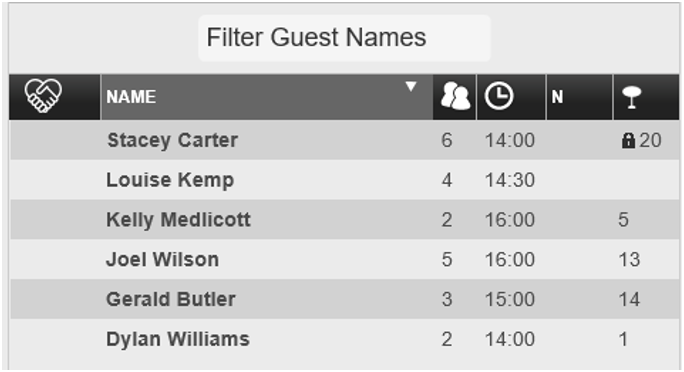
This will list all reservations for that day and session.
If there are reservations with padlocks these tables will not reallocated when assigning all the reservations in the list below.
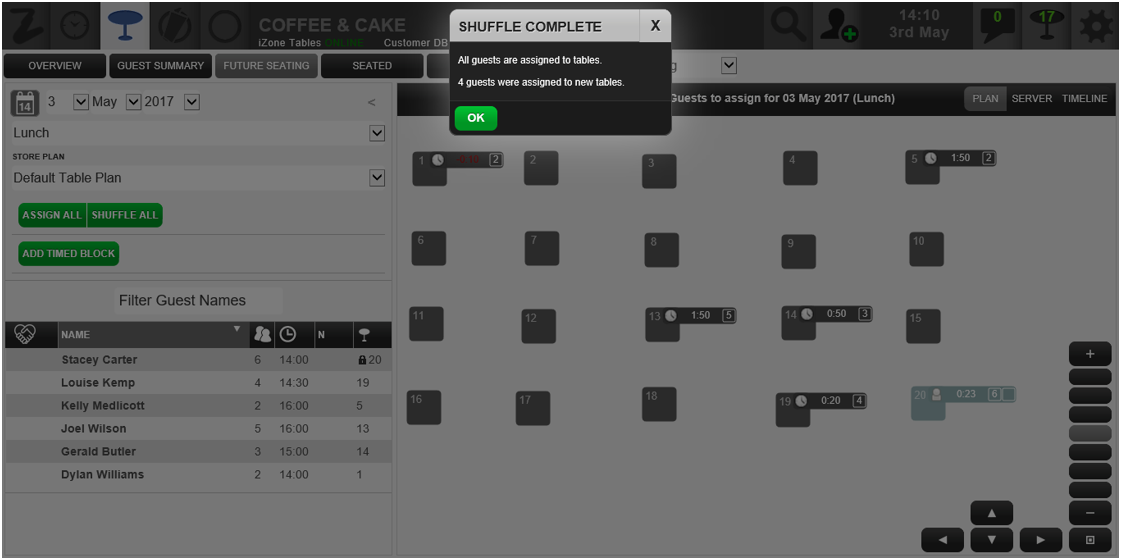
3. Select ASSIGN ALL

4. All Reservations have now been assigned to Tables
If you are unhappy with the assigning of the tables, you can shuffle them.

5. Select SHUFFLE ALL
These Tables have now been shuffled and reassigned.
To reassign a few tables, this will need to be done individually.
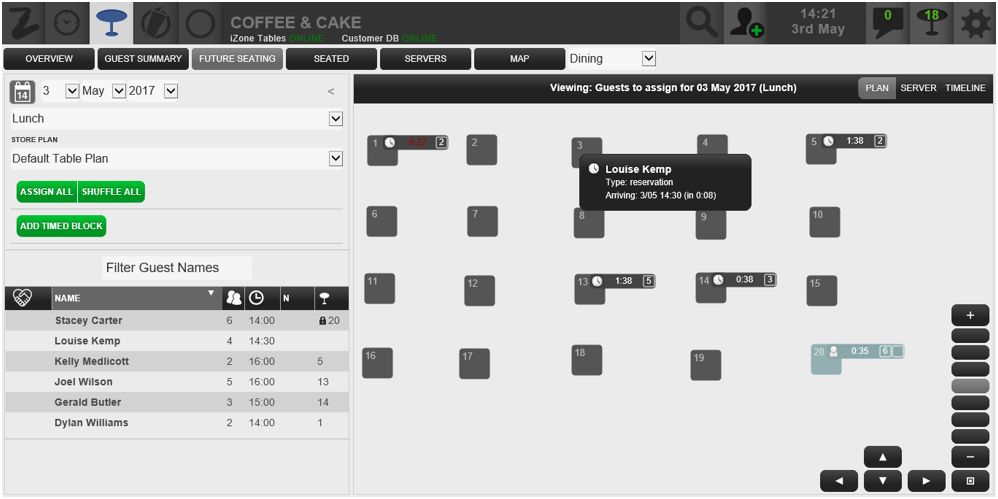
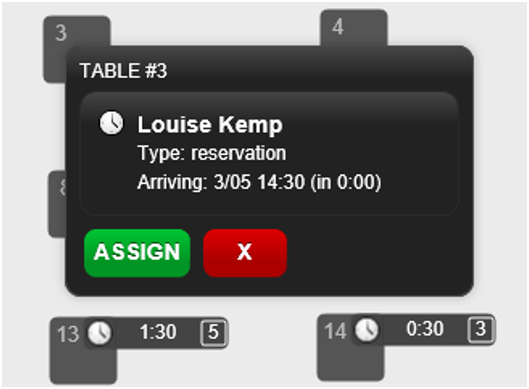
1. Select the reservation either in the list or on a floor plan
2. Select UNASSIGN
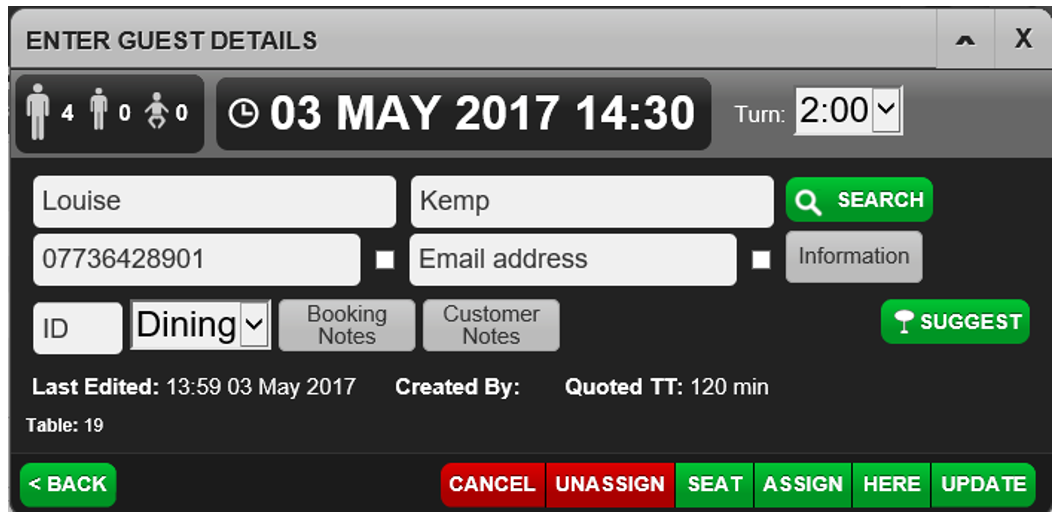
The reservation will now need reassigning.
There are 2 ways to reassign this reservation.
Select the reservation from the list and or Drag the reservation to the specific table.
Selecting the reservation from the list
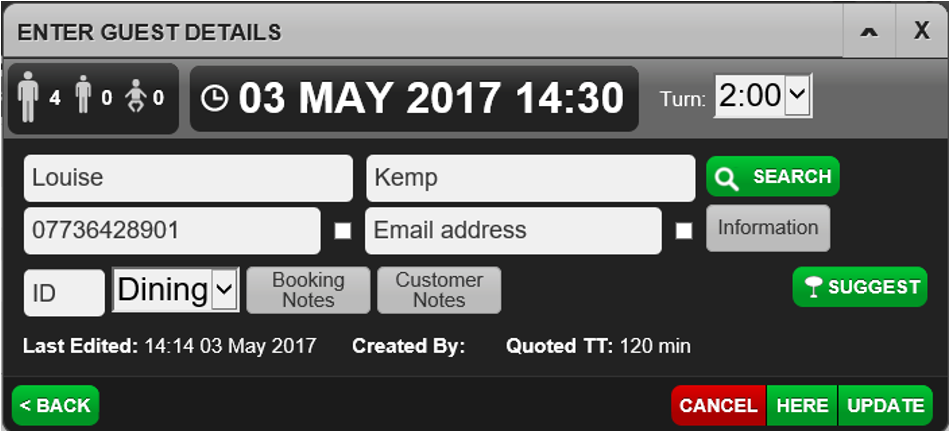
1. Select the reservation
2. Select Suggest
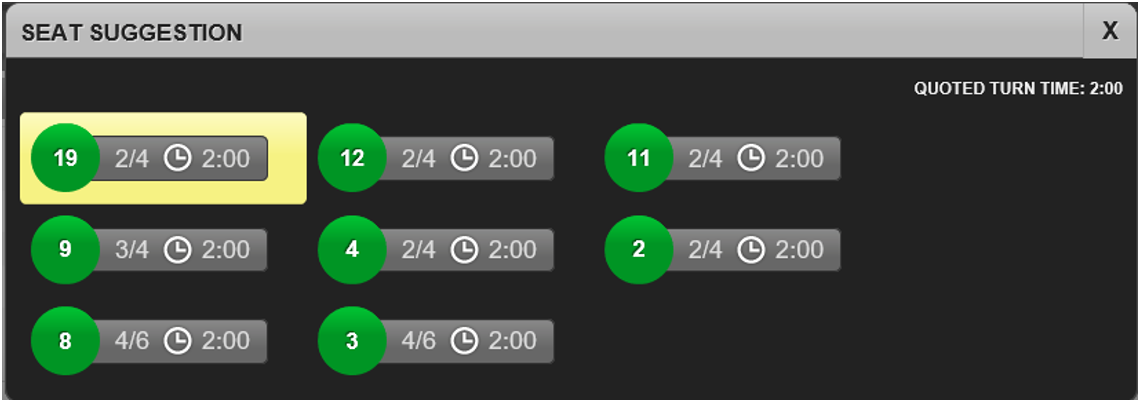
This will show all available tables for the time and size of the party.
3. Select the Table
This table has now been assigned.
Dragging the reservation to a table
1. Select and drag the reservation from the list
2. Select ASSIGN
The ‘Seated’ tab will show all seated bookings as displayed below. The coloured box will indicate what stage the table is at in the booking i.e. ordered.
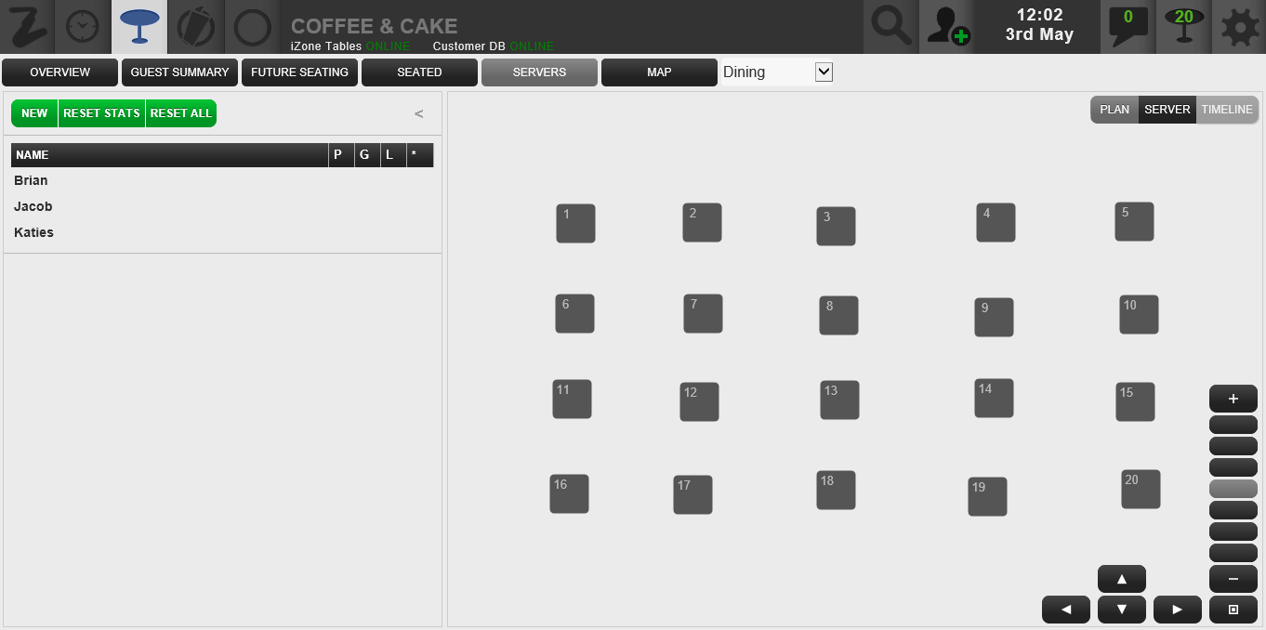
The ‘Servers’ tab allows you to manage your team. It allows you to assign them tables/sections to cover during their shift.
Adding a Server
1. Open the Table Planning tab
2. Select Servers
3. Select New
(All existing servers will be displayed)

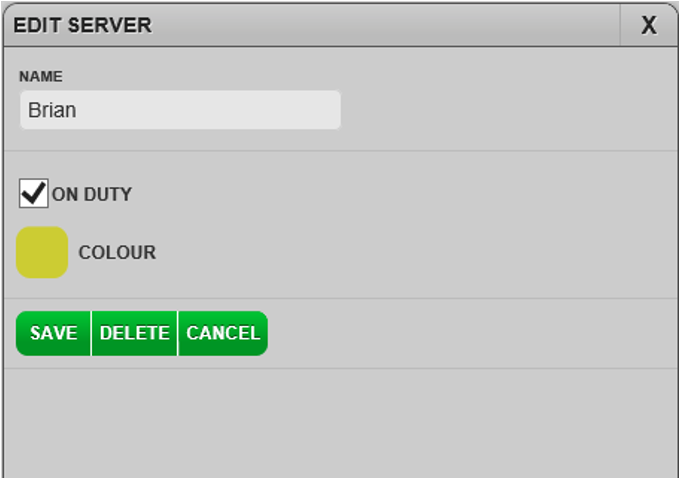
4. Enter the server’s name
5. Select the colour box to choose a colour for the server
6. Click away from the colour selection palette to return to the New Server window.
7. Select Add

Removing a Server
1. Open the Table Planning tab
2. Select Servers
3. Select the server you wish to delete
4. Select Delete

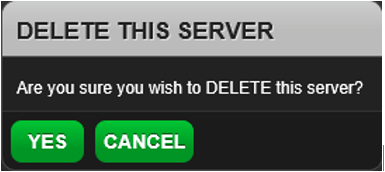
5. Select YES
Assigning Tables to Servers
This function allows you to assign your Team Members to their sections, as per your in-house Buzz Brief on a shift by shift basis.
1. Open the Table Planning tab
2. Select Servers
3. Select the name of the Server
4. Tick ON DUTY
This is the ‘Map’ view. If you wish to edit the table plan, select ‘Edit’.
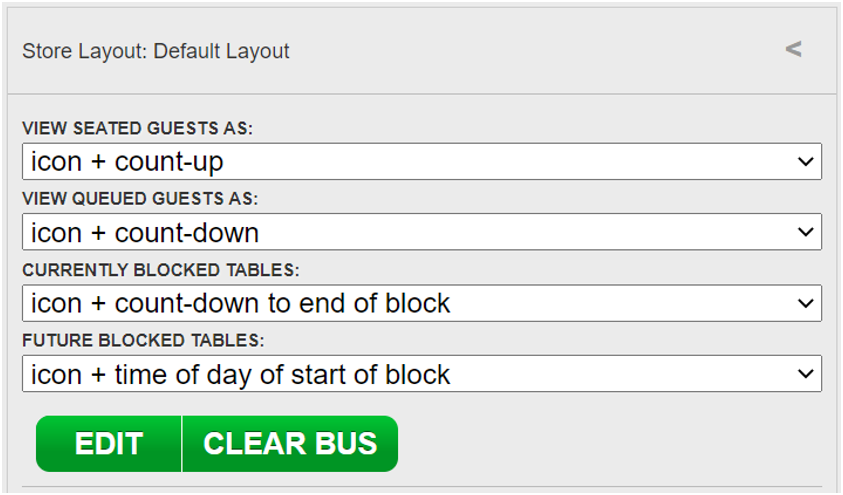
You can change the table plan area by selecting the drop down as displayed.
