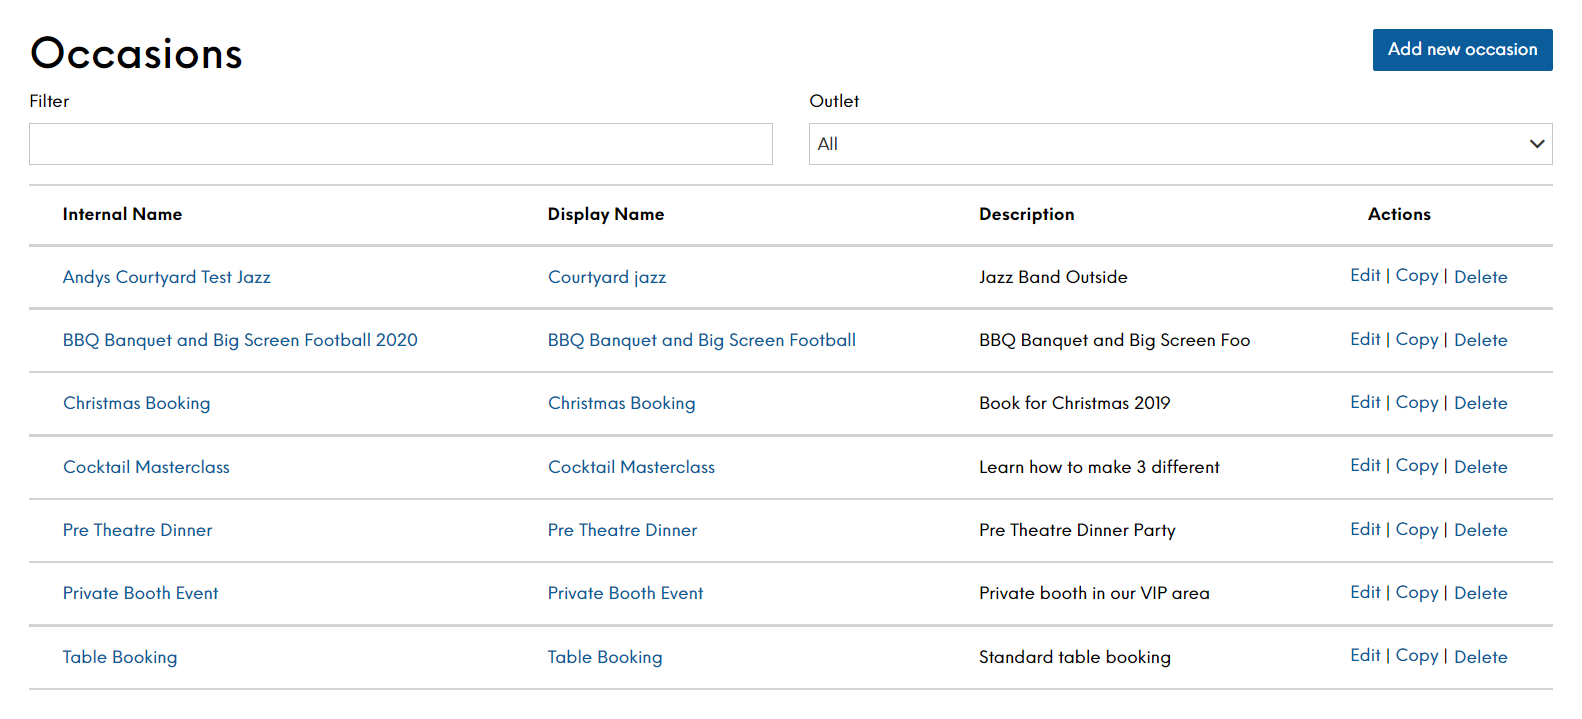
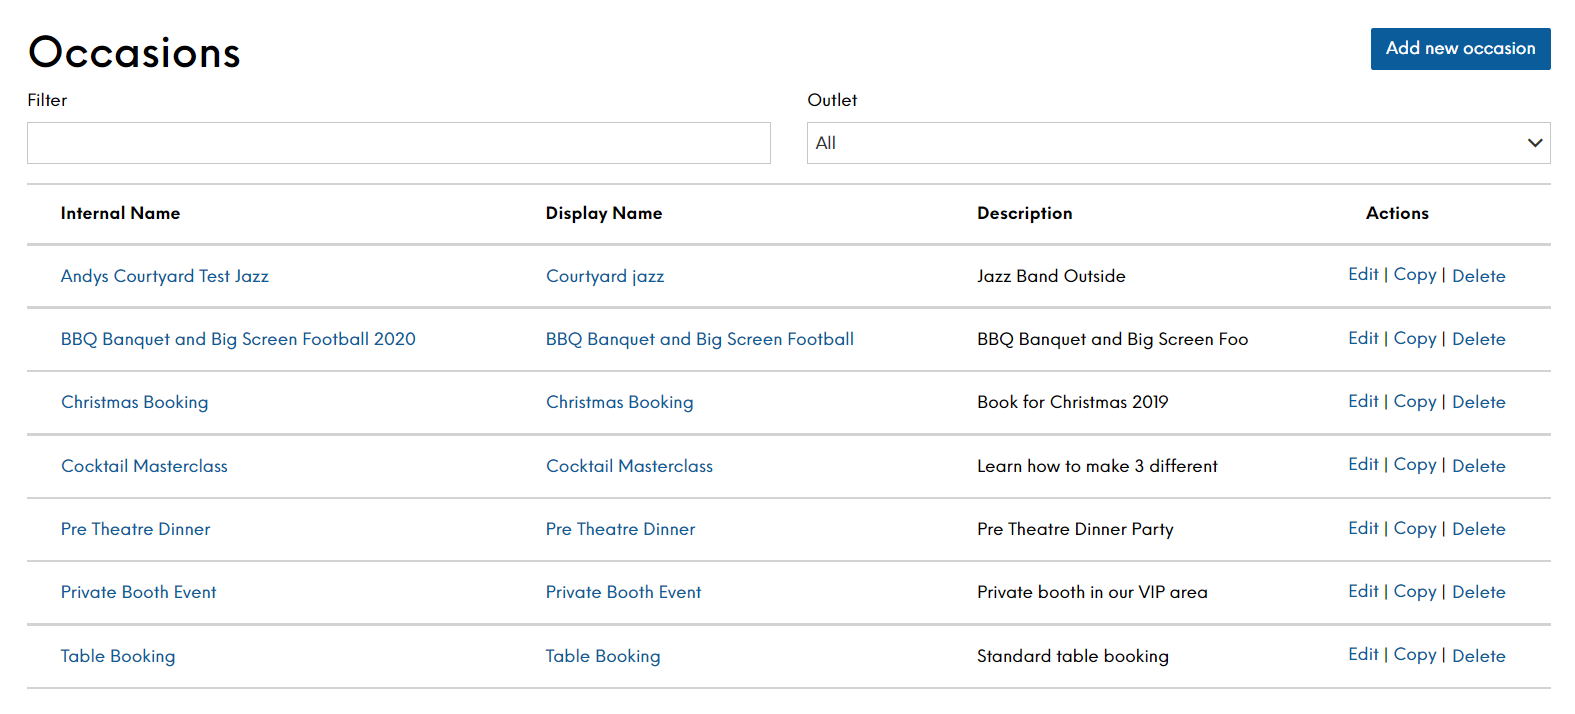
The Occasions screen displays all those that are currently defined in Events for your estate. Users can create new occasions and edit or delete existing occasions.
You can schedule an occasion to be available for a set period of time such Christmas party nights and Valentines Day, special occasions like a cocktail masterclass that will only run on Saturday nights or ad-hoc occasions like birthdays or stag/hen nights.
You are able to filter the occasions displayed by typing the name of the occasion you want to find, or you can filter by company or site to limit the occasions that are displayed. This will assist you to find the desired occasion much quicker. Please note that company and site names are taken from the Internal Name configured for the site or company in Launchpad. The Internal Name is for your use only and is not be displayed to the guest. If you want to change the internal name, please contact your Zonal Account Representative.
You can create a standard Table Booking occasion so that guests not wishing to book for a special event can make bookings and visit your venue.
To create a new occasion:
-
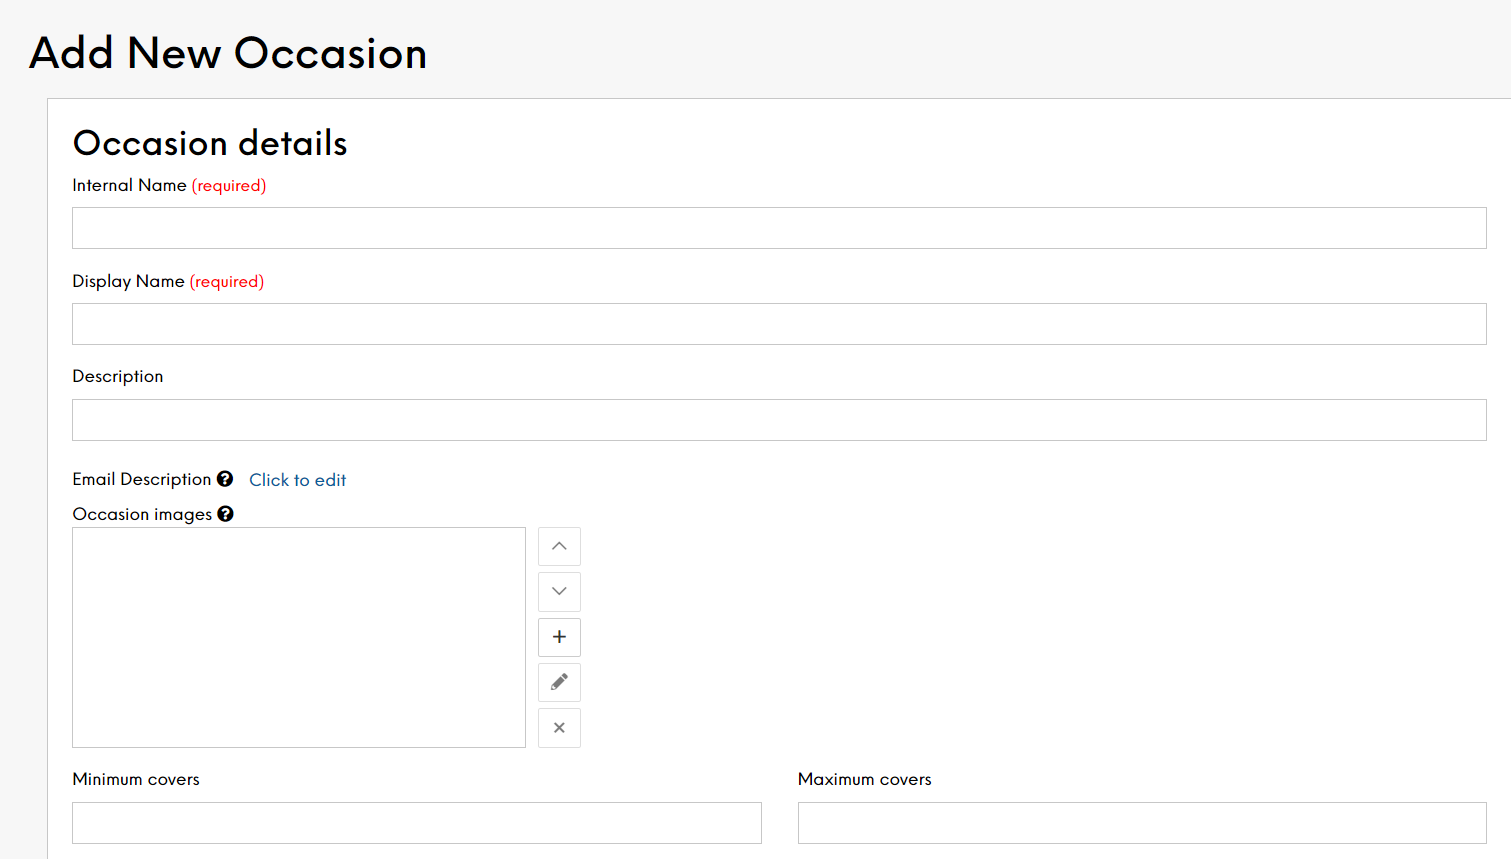
Select Add new Occasion
-
Enter the names for the new occasion
The Internal Name is for your use only and is not be displayed to the guest. For example, this could contain a regional reference or a unique term if the display name is duplicated on the system. The Display Name is displayed to the guest on the guest portal, and is also shown throughout the booking journey and on all email communications. These two names are the only mandatory fields
-
Define the optional fields as required. The more optional fields you define, the greater the control you have over your new occasion:
-
Description Enter a description of the occasion
The description can be used to display additional information on the widget. The first 30 characters will be displayed on the Occasions summary page and is shown throughout the booking journey
-
Email Description
-
Occasion Images Add up to 10 URL links and descriptions to images that will be associated with an occasion. These images will be returned in the External Events API for you to create a more enticing booking journey for your guests
-
Minimum Covers Enter the minimum number of covers for the occasion
Customers will be unable to make a confirmed booking if the number of covers is below the defined minimum. This field can be used together with the maximum number or on its own
-
Maximum Covers Enter the maximum number of covers for the occasion
Customers will be unable to make a confirmed booking if the number of covers is above the defined maximum. This field can be used together with the minimum number or on its own
If you do not set the minimum or maximum number of covers, guests will be able to request this occasion with any number of covers
-
Minimum Notice Enter the minimum amount of time in advance that a booking can be made. This field can be used together with the maximum advance booking time or on its own.
-
Maximum Advance Booking Enter the maximum amount of time in advance that a booking can be made. This field can be used together with the minimum notice or on its own
-
Maximum Advance Booking Type Define the measurement of time for the above in terms of years, months, weeks, days, hours or minutes
-
Minimum Notice Type Define the measurement of time for the above in terms of years, months, weeks, days, hours or minutes
-
Turn time in minutes Enter the time in minutes which a table will be booked for when a guest selects this occasion. If integrated with Tables, this setting prevails over Site Admin | Site Set up | Manage Tables | Turn Times for different table sizes
-
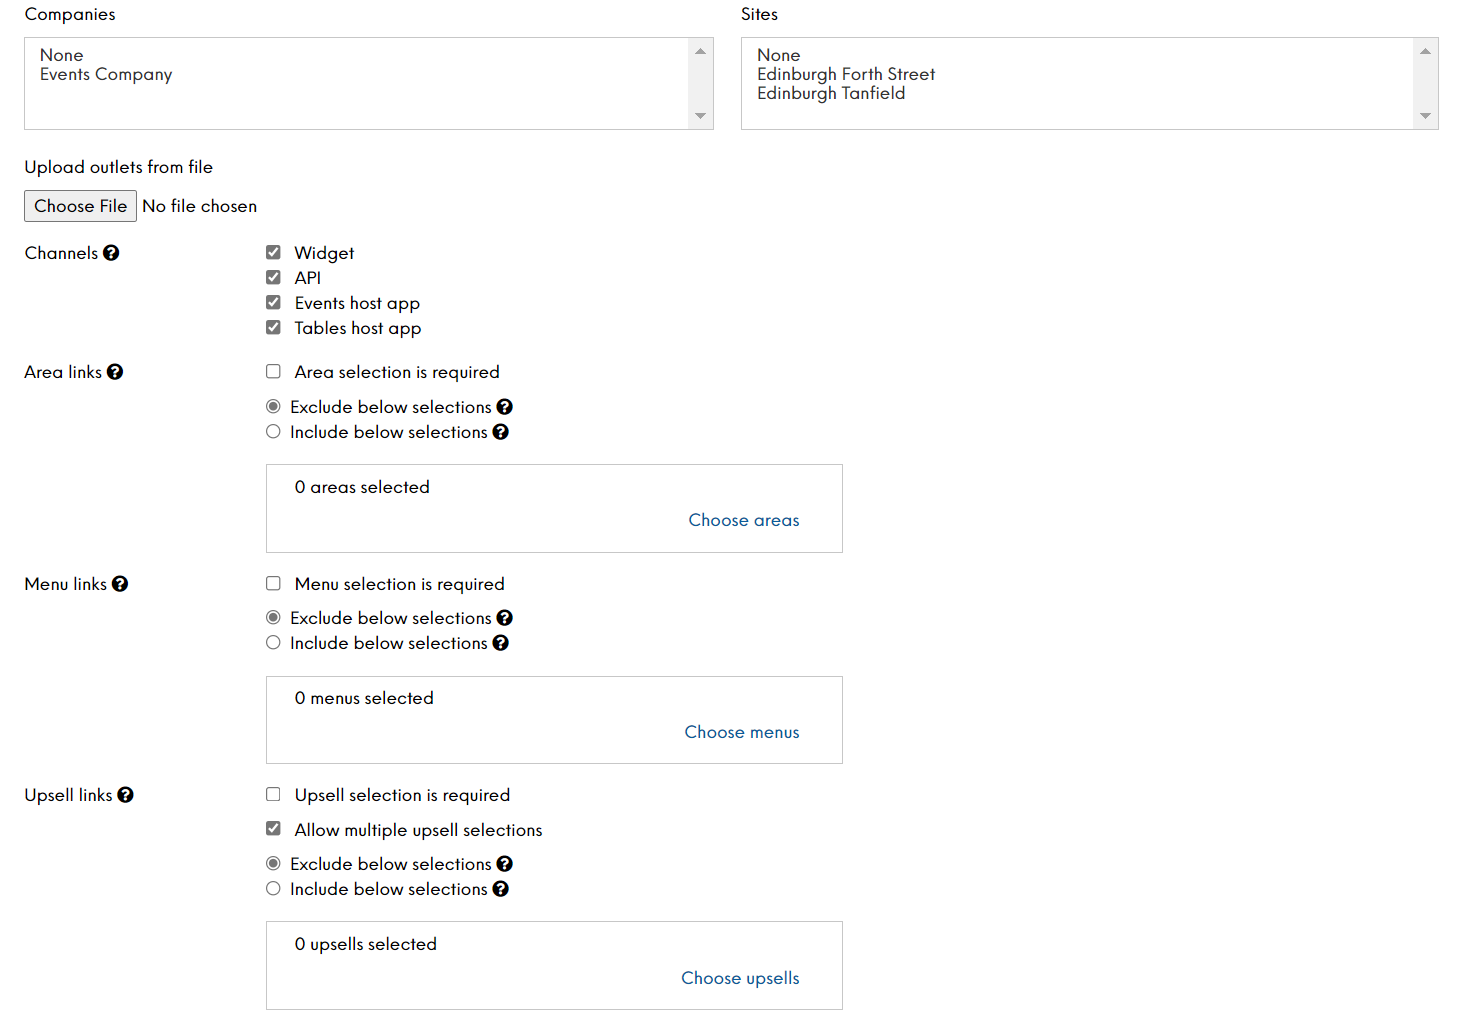
Companies Select the required company hosting the new occasion. Once a company is selected, all sites for that company can use the occasion
-
Use Ctrl + click to select multiple companies if required. The number of companies selected will be shown for your reference
-
Sites If it is an occasion for specific sites, you will only need select those sites and you do not need to select the company. Select the site for which this occasion will be booked
Use Ctrl + click to select multiple sites if required. The number of sites selected will be shown for your reference
If you do not select a company or a site, the occasion will be enabled for all sites and companies within your estate.
-
Channels By default, each occasion will be available on all channels but you can configure which channels it is available on (from Events Host app, API, Widget, Tables Host app). For example, this can be used to have occasions that can only be selected within the Events host app. These occasions could have different cover or notice minimums / maximums to the ones that are publicly available via the Widget or API integrators
-
Area links Use this to choose the areas within each site that guests will be presented if they select this occasion when booking an event. The area selection can be done by including or excluding certain areas. If you include areas, it means only the included areas will be available to be chosen by a guest; if you exclude areas, all site areas except for the excluded ones will be available to be chosen
-
Menu link Use this to choose which menus can be chosen by guests if they select this occasion when booking an event. Similar to area links described above, the menu selection can be done by including or excluding certain menus. If you include menus, it means only the included menus will be available to be chosen by a guest; if you exclude menus, all site menus except for the excluded ones will be available to be chosen.
-
Upsell links Use this to choose which upsells can be chosen by guests if they select this occasion when booking an event. Similar to menu and area links described above, the upsell selection can be done by including or excluding certain upsells
-
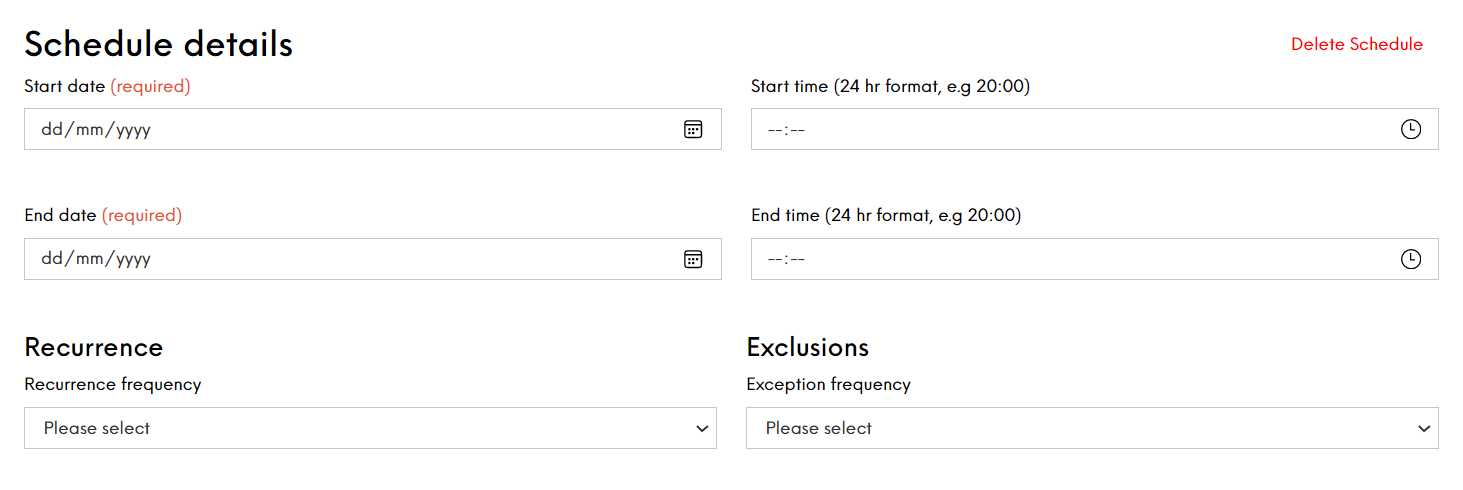
Scheduling an occasion You have the option to add a schedule. An additional section is displayed at the bottom of the form where you can enter your scheduling details. Defining schedules is described on here
-
-
Select Save Changes when complete.
Your new occasion will be displayed in the list.

Select Edit on the Occasions screen to view or modify an existing occasion.
Within the Edit Occasion screen, you change any of the information already defined and also view additional options that are required to create a schedule for this occasion.
Select Delete on the Occasions screen to delete an existing occasion.
While you can delete an occasion, you must ensure that it is not currently in use before doing so